Soap making level – BASIC

Old fashioned lye Soap Recipe
Lye soap isn’t really a thing as all cold process soap require lye and are all considered lye soaps, however what is meant by lye soap is actually lard soap.
Lard and tallow were readily available for centuries much like olive oil and coconut oil are for the 50/50 basic soap.
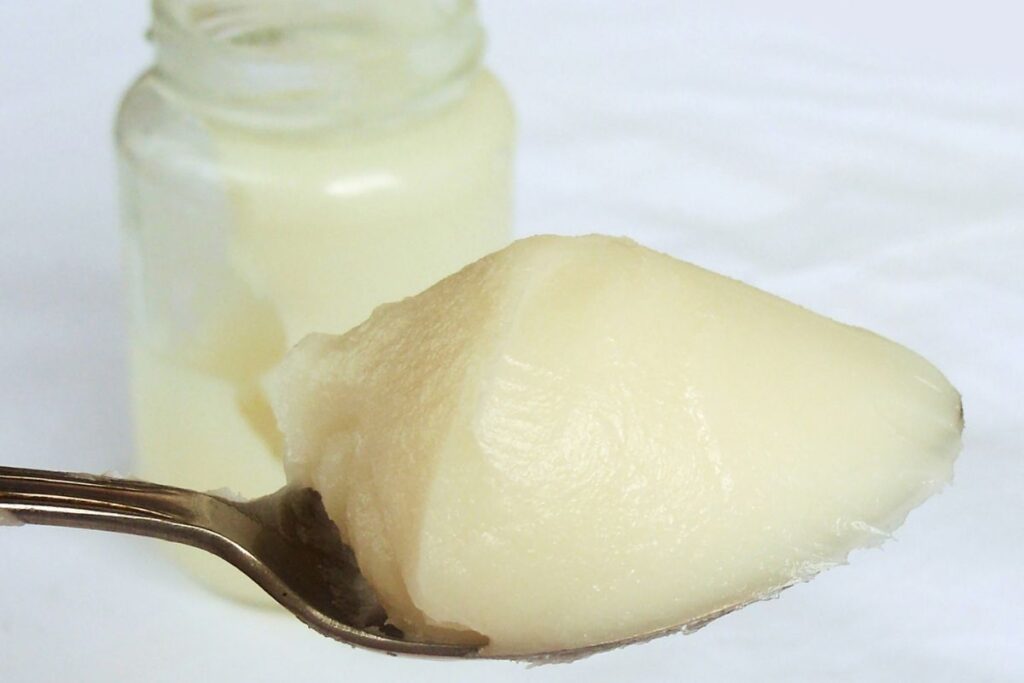
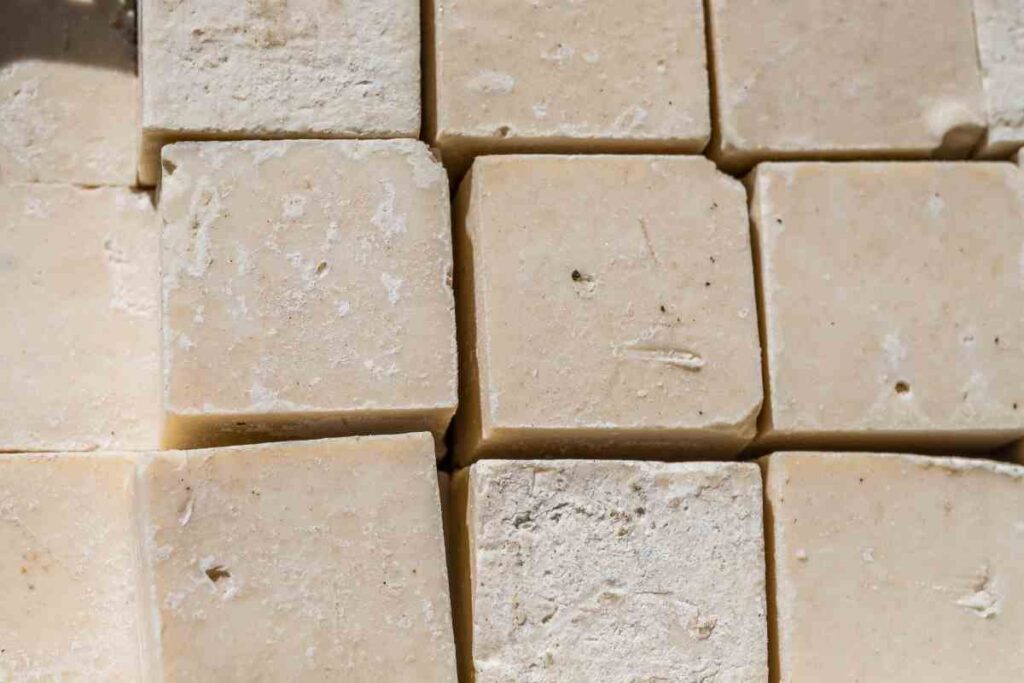
This recipe uses 100% lard and can be substituted with tallow. Lard soaps are creamy and were used for treating poison oat or poison ivy because the soap residue stayed on the skin longer soothing the itching sensation.
100% Lye cold process soap, also known as lard soap, is a very basic soap recipe although some may find it hard to find actual old fashioned lard we will use Crisco for this recipe.

What is the difference between lard and using Crisco?

Lard is made from pork fat, this is why tallow (made from beef) can substitute for lard. Crisco, the brand, took vegetable oil and processed it into a semi solid similar to lard for baking. This vegetable oil could come from cotton seed oil or even soy beans.
Lard actually has less trans fat than lard hence the outcome of the soap is similar but if you compare the two side to side for use there will be a noticeable difference in creaminess.
Crisco is used as a cheap and readily available alternative to lard as you may not have actual port or beef tallow in your area.
Table of contents
- Introduction
- Safety
- Ingredients
- Tools
- Recipe
- Instructions
- Lye water
- Oil preparation
- Scent addition
- Combine lye and oils
- Unmolding
- Cutting and curing
- Congratulations
Cold Process Soap Making
Cold process soap making is easier than many may think. It can be a bit nerve wrecking especially when it comes to handling lye. This corrosive chemical reacts with water and begins to heat up drastically.
It is good to make safety procedures standard and a habit when it comes to making cold process soap. Many soap makers have stated that after making soap for a while it becomes easier and less scary once they stick to safety protocols.
I highly recommend The Complete Guide to Natural Soap Making as it covers various safety protocols for different types of soap making.

Cold Process Soap Making Safety
The one key point that is stressed as we teach and we will stress here at Bahamas Candle and Soap is the importance of safety in candle and soap making.
When making soap you will be working with super heated materials with the potential to cause major skin burns. You must be sure that you are properly prepared.
The main ingredient in soap making is sodium hydroxide also known as lye. This corrosive chemical reacts with water and begins to heat up drastically, however this chemical reaction is needed to convert oils into soap.
It is good to make safety procedures a standard and a habit when it comes to making cold process soap. Many soap makers have stated that after making soap for a while it becomes easier and less scary once they stick to safety protocols
Sodium Hydroxide – Lye SAFETY
Sodium hydroxide is an inorganic compound used to emulsify the fats of oils into soap. When used properly in soap there will be no lye left over in the soap as its chemical makeup changes to create the actual soap.
When handling lye be sure to protect your exposed skin. Here are a few items we recommend you have.
- Gloves
- Long sleeve shirt
- Long pants
- Closed toe shoes
- Safety Glasses
These items will ensure if there are any accidents such as splashes you will keep your skin safe from the burning sensation of lye.
NOTE
- Use an appropriate container to hold your lye and to mix your lye water. Heat tempered glass works very well or hard plastic containers.
- When making your lye water remember to add the LYE to the WATER and never the other way around.
- Mix you lye solution in a well ventilated area. The fumes that will arise from mixing water and lye can become noxious to some persons while its chemical scent can burn your nose and make your eyes water.
- Ensure that you are wearing your safety glasses, rubber gloves, long sleeve shirt and pants and close toe shoes. This is to avoid any splashes getting on your skin. Another reason is that if you use a container that cannot handle the heat created by the lye water solution it could break and the entire solution can get on your body.
- Learn more about lye safety HERE
Oils
In some recipes and depending on where in the world you live you may have to pre heat your oils. Oils can also burn the skin when heated hence ensuring that you are safe from splashes or spills is very important.
This recipe uses 100% Crisco, but if you access to it you can use lard or tallow
Lard cold process soap recipe Ingredients
| Ingredient | Percentage | Weight |
|---|---|---|
| Lard or Tallow or Crisco | 100% | 33oz |
| Distilled Water | 12.54oz | |
| Lye for Crisco | 4.29oz | |
| Lye for Lard | 4.43oz | |
| Lye for Beef Tallow | 4.47oz | |
| Fragrance Oil (optional) | 1.5oz | |
| Sodium Lactate (optional) | 2tsp |
Tools Needed for Cold Process Soap Making
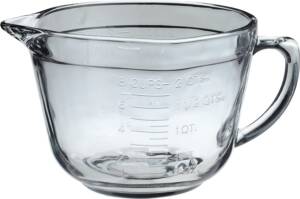
- 2 qt Glass Mixing Bowl
- 16 oz glass measuring cups (TWO)
- Silicone Spatula
- Stick Blender
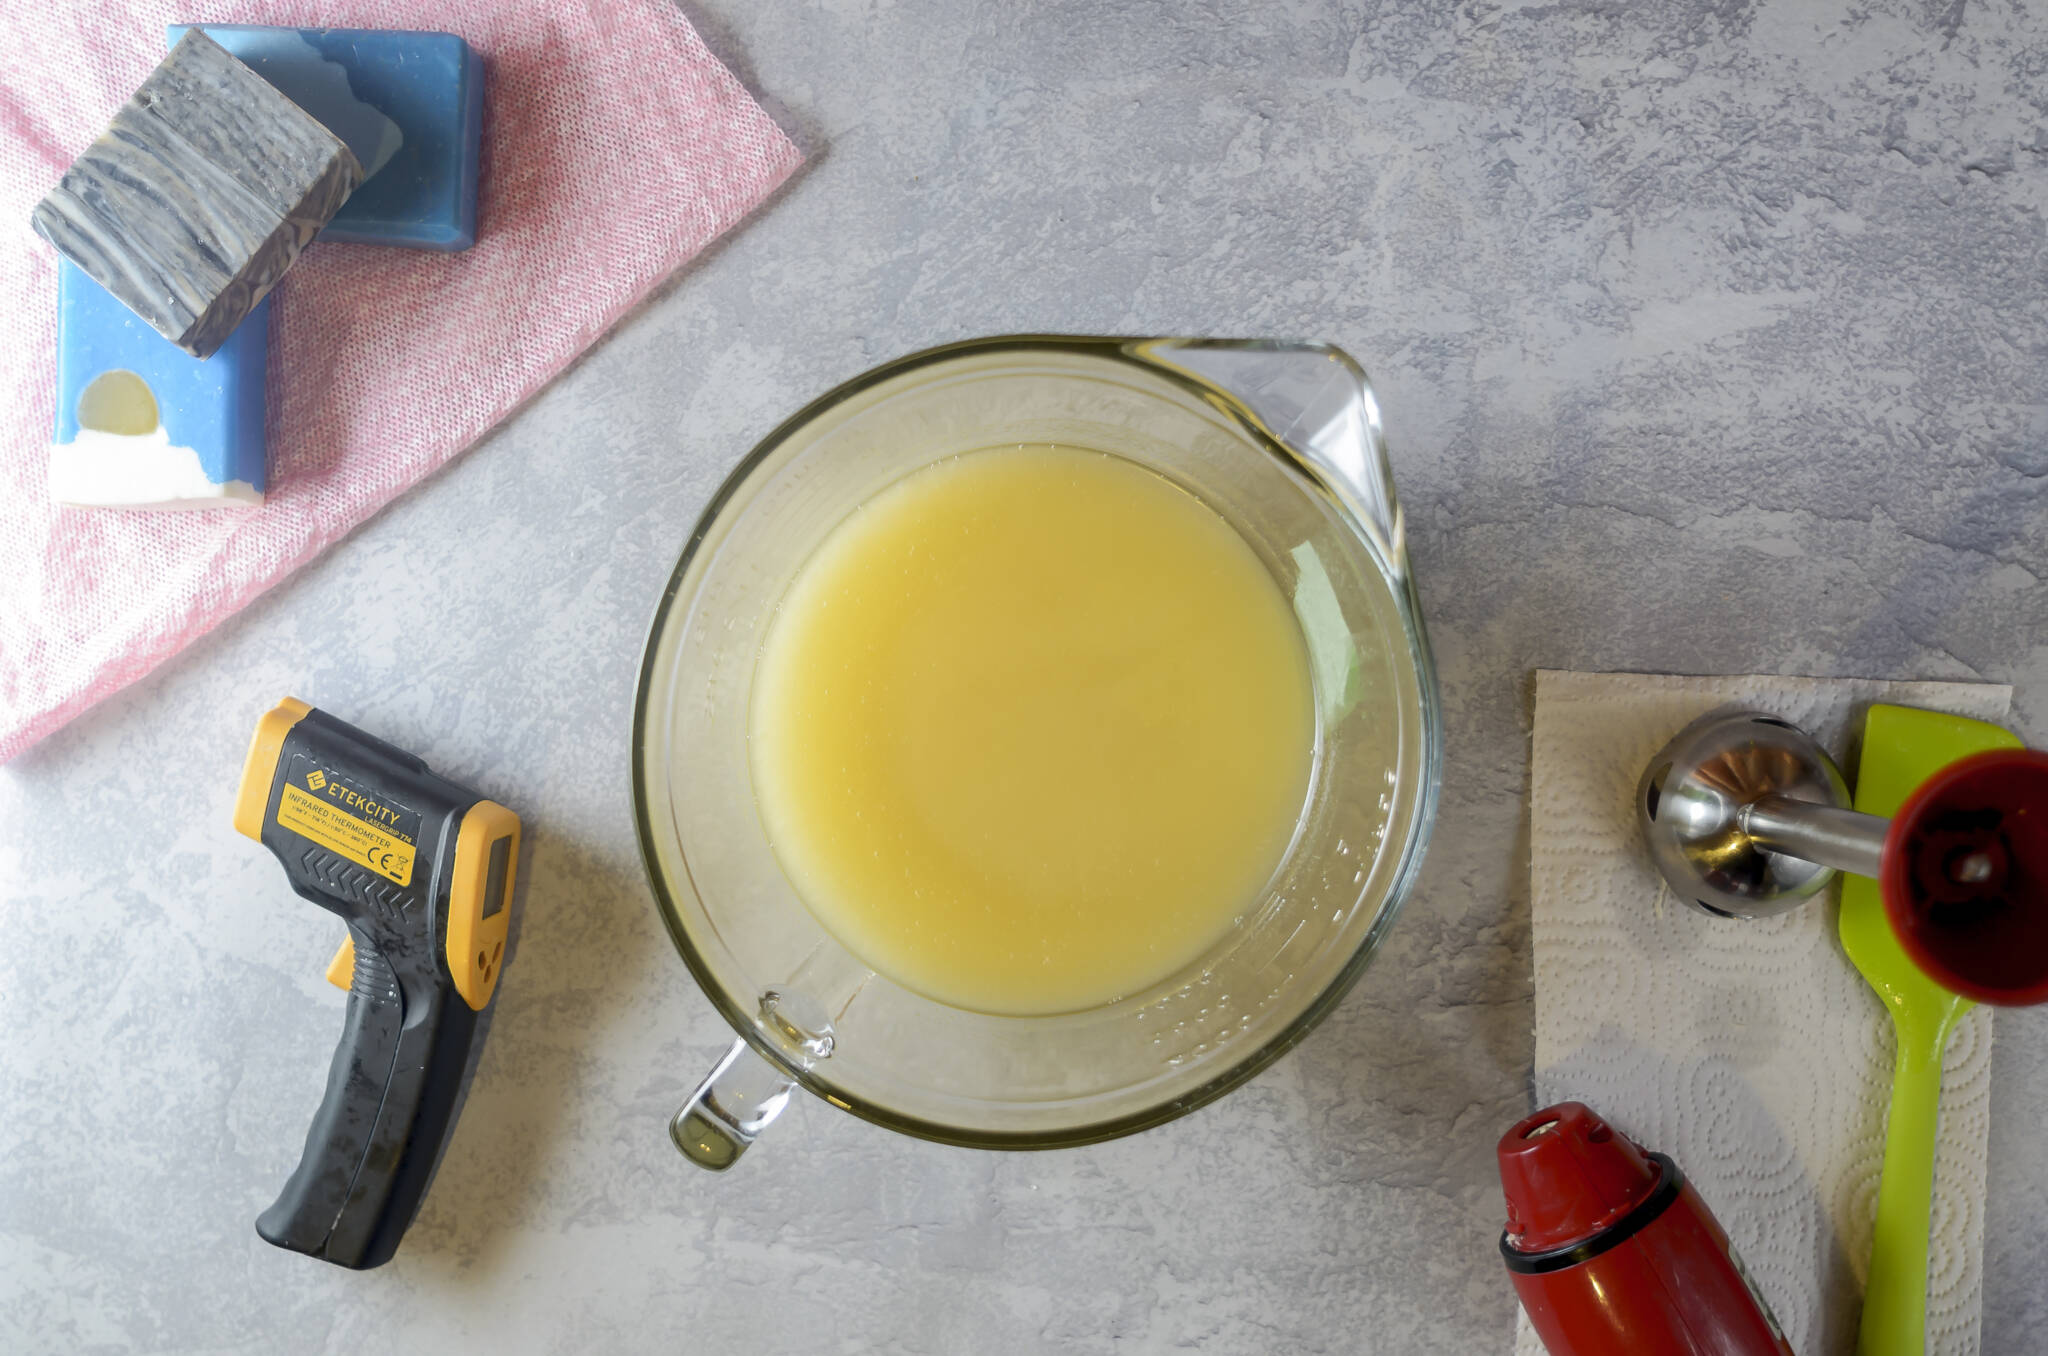
- Infrared Thermometer
- Steel Whisk
- 1 tsp measuring spoon
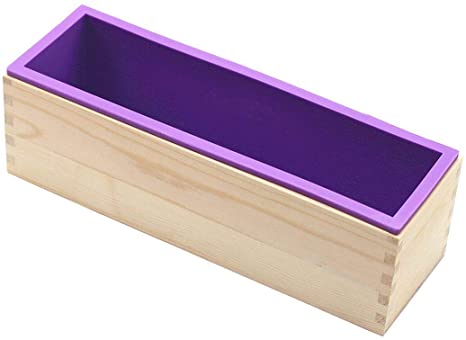
- 42 oz Loaf Mold
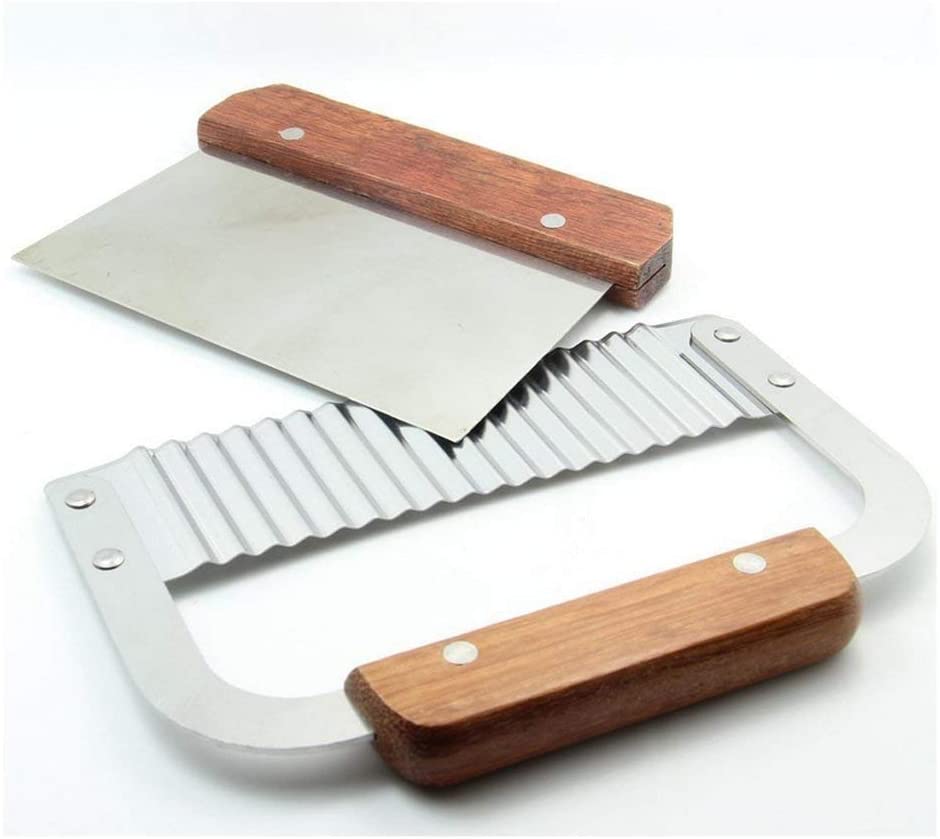
- Soap cuter
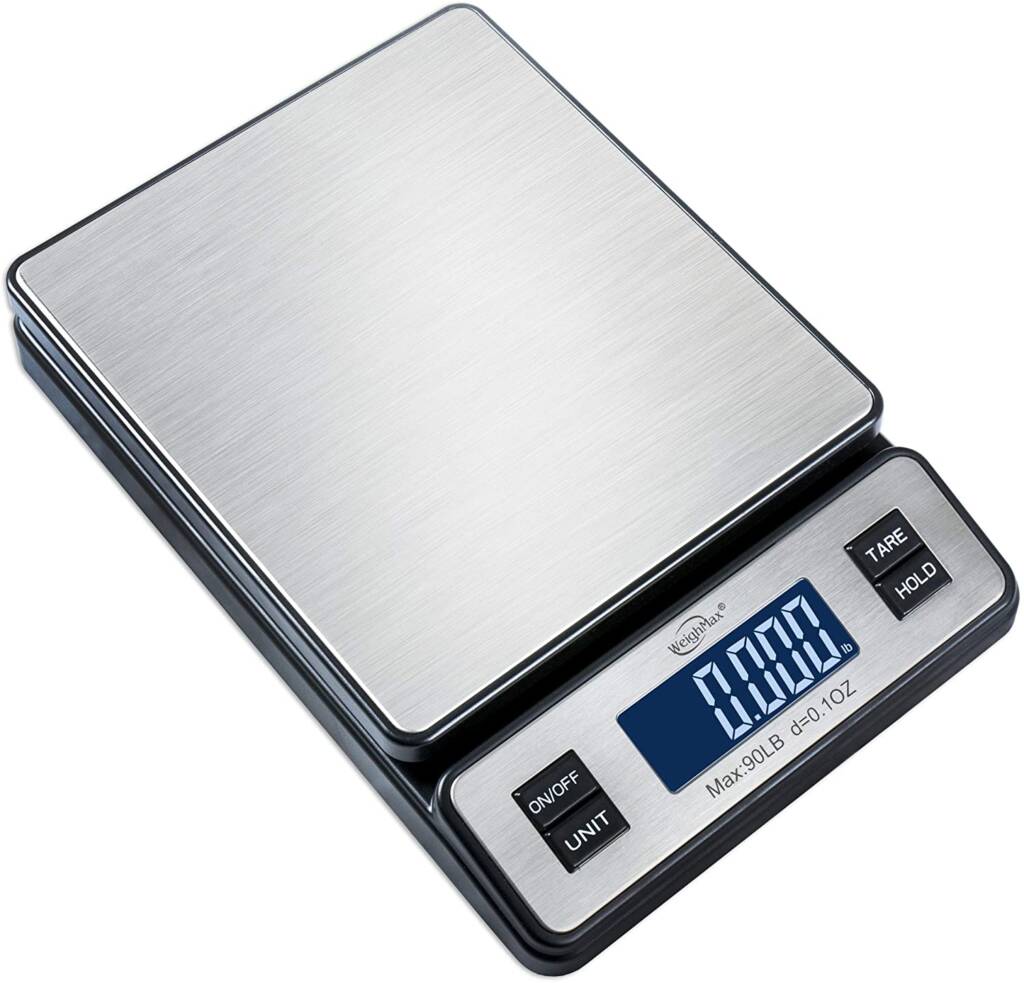
- Food grade scale (ounces)
Find all the items you need on our Amazon cold process tools shopping list.


Downloadable soap recipe file
Instructions to make lard lye cold process soap
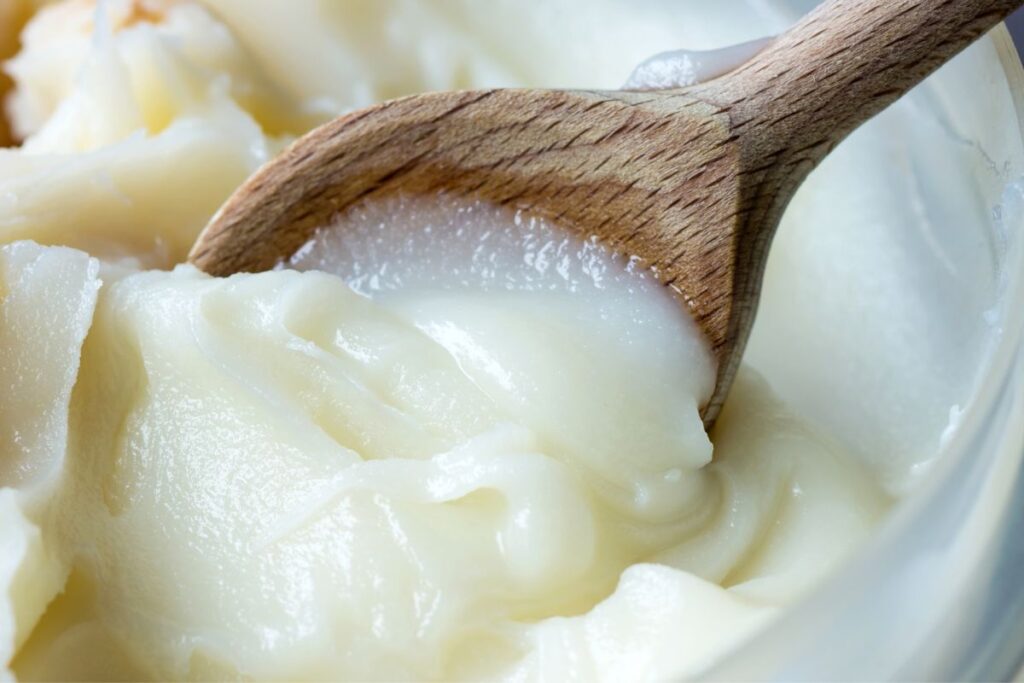
Lard is considered a solid although it does not seem so. It is not in a liquid form to make cold process soap.
To ensure the lard is ready pre heat it in the microwave at 30 second intervals until it has melted with no chunks left over.
Once this has happened keep track of the temperature of the lard and your lye water to ensure they are at the right temperatures to be combined.
1 – Lye water preparation for cold process soap making
Remember to observe the safety protocol for handling sodium hydroxide.
- Using your heat tempered measuring cups measure out by weight using your scale the remaining 10.54oz of distilled water (its ok if you are do not have exactly 10.54 but you should have close to 10oz of water by weight.
- Use your second measuring cup to weigh out 4.14oz of sodium hydroxide/lye.
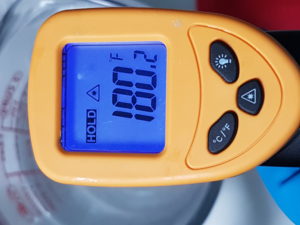
- Add your lye to water (never the other way around) slowly and mix using the steel whisk until dissolved. Check the temperature of the lye mixture once the lye has been dissolved. It can be up to 200 degrees Fahrenheit.
- Set your lye water to the side to cool but safely away from any accidents such as bumping the table or knocking over the measuring cup. (NOTE – depending on your location and ambient heat, you can place your lye water in the refrigerator to cool quicker. You will want to check on it every 5 minutes taking its temperature using the infrared thermometer. 120-130 degrees Fahrenheit is a good temperature that you are looking for.)
- To ensure an even harder bar and to make it easier to remove from the mold add the 2tsp of sodium Lactate to the lye water mix.
Now that you have prepared your lye water you can get back to finalizing your preparation base oil aka lard.
2 – Oil preparation for lard lye cold process soap recipe
Add your oils in the 2qt large mixing bowl. If you did not read the article on adding oil you may have missed the part about ensuring all your oils are melted and clear.
You will need your oils in a liquid state and at the right temperature roughly between 80-120 degrees Fahrenheit, before continuing.
With all you oils in the mixing bowl I find it a good practice to stir the oils either with a spatula or more vigorously with a stick blender. This is to ensure that the oils marry well within the mixture and are prepared for the lye water.
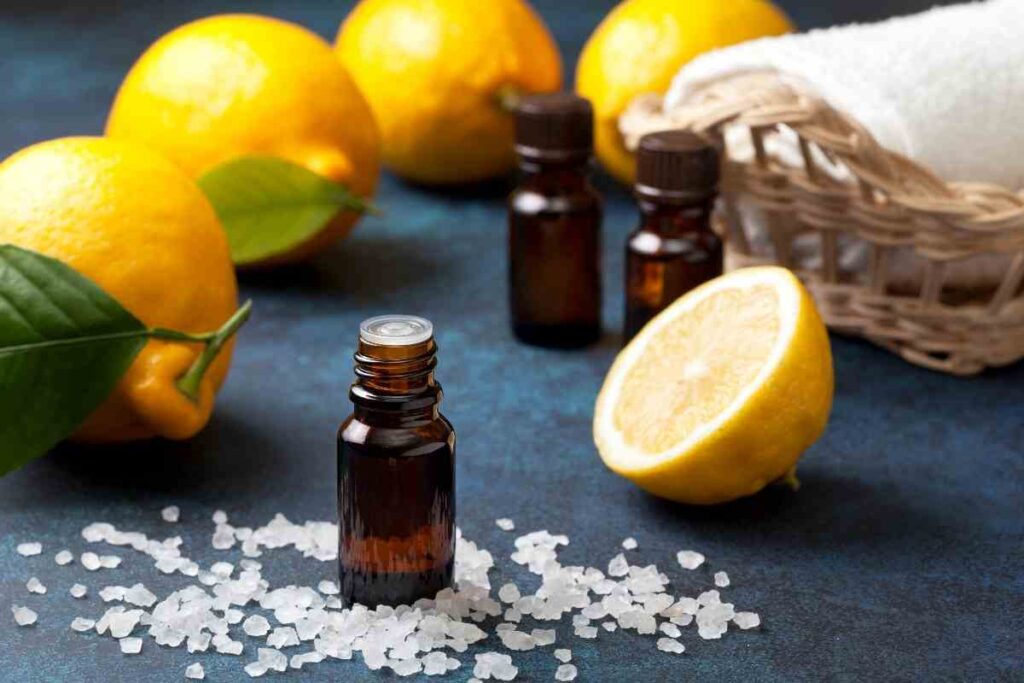
3 – Add Essential or Fragrance Oils (optional)
If you have an essential oil or fragrance oil that you would like to add to your recipe this is a good time to add it to the oil mixture.
There is one caveat to this however. Not all fragrance oils behave well in cold process soap making. You must ensure that you now how the fragrance oil will react to the soap.
Sometimes this means that it will accelerate trace, it will discolor or it some cases when adding the carrot puree it can cause the soap to begin to separate. Make sure you choose the right fragrance oil. We recommend using essential oils as they are more reliable
Measure out fragrance in a glass container. (do not use plastic container for essential oils) When measuring use wax paper on top of your scale to avoid the oil spilling on the plastic of the scale. Essential oil eats at plastic and will destroy your scale.
Make it a habit when using fragrance or essential oil to use a glass container. Add the fragrance to your oil mixture in the mixing bowl and stir. Now you are ready to add your lye water.
NOTE – if your fragrance accelerates trace then adding it to the oil is not the best option. Wait until you have reached a light trace to add your fragrance.
4- Oil and Lye Mixture to make lye soap
- Take note of the temperature of your oils and your lye water. At this point they both should be between 80-100 degrees Fahrenheit but closer to 100-120.
- With your stick blender in your oils well burped, pour your lye water into your Oil mixture along stick blender to prevent bubbles.
- Begin to blend the lye water and oils together with short pulses from your stick blender and then longer sustained mixing. (Depending on your fragrance oil, trace may be accelerated if you added the fragrance to the base oils, be sure to work quickly and blend to light trace. If you did not add the fragrance to the base oil then continue.)
- Mix your batter until you have reached a light trace.
- Continue to sick blend the soap batter to a medium thick trace. At this point the batter is still fluid enough to pour into your mold easily. Remove the stick blender and continue to mix with your spatula or whisk to keep the batter fluid.
- Pour mixture into the loaf mold, and ensure you scrape out any remaining batter into the mold. Tap the mold on your work bench to remove any bubbles from the poured batter. You can design the top as needed
- Depending on ambient temperature of your work room, cover with cardboard or wax paper over top then put to bed with towels to go through trace. (NOTE – If in a room at 75deg or more leave open and exposed as putting it to bed with a covering will most likely cause it to overheat and volcano. If in a cooler room cover the soap to let its own heat help take it to gel phase for brighter colors.)
5 -Removing your soap from the mold
- Let you soap sit for 24 hours before removing from the mold.
- Check its readiness to be handled and removed by pressing lightly on the top of the soap. It should be slightly hard to the touch if it is still soft leave it in the mold for another 24 hours.
- After 48 hours and the soap has not hardened enough, you can place in the refrigerator for an hour to cool to a point to make it easier to remove from the mold without damaging the soap.
- After cooling remove the silicon and soap from the wooden mold by turning the mold upside down. The silicone part should slide out easily.
- Pull the sides of the silicone mold away from the soap slowly. If it looks sticky as you pull place the soap back into the refrigerator. If not continue to gently pull the sides away from the soap.
- Once all four sides are pulled away turn the silicone mold upside down and while pulling at the two narrow end of the silicone press down gently on the bottom of the silicone onto the soap.(this will help release the soap from the mold)
- As the soap begins to slide out of the mold help it along the way by pushing on the bottom of the mold until it slides completely out of the mold.
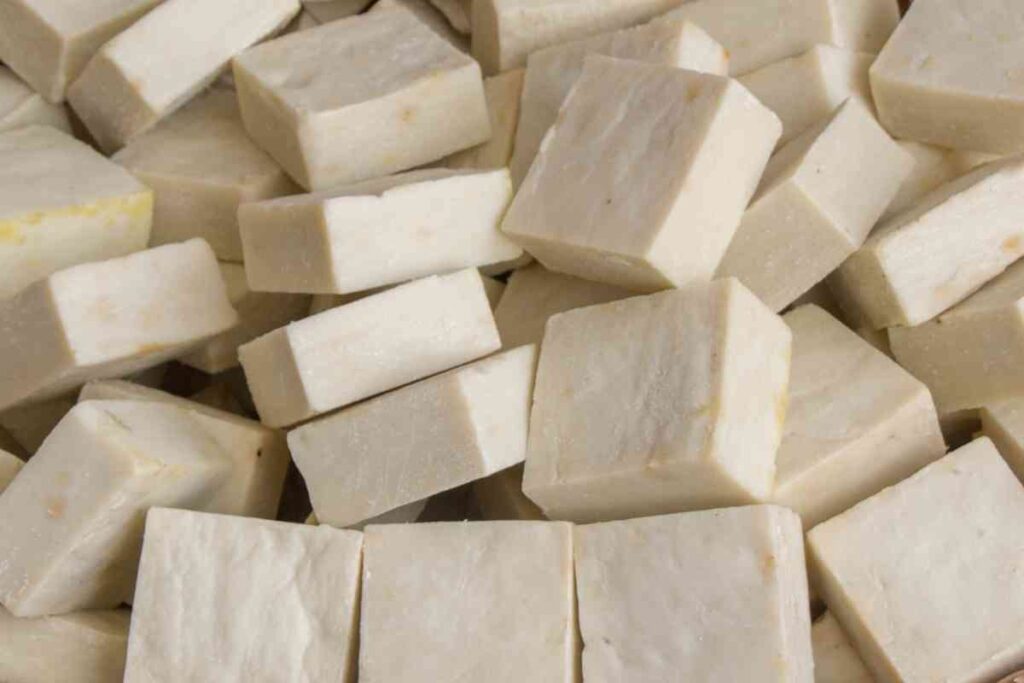
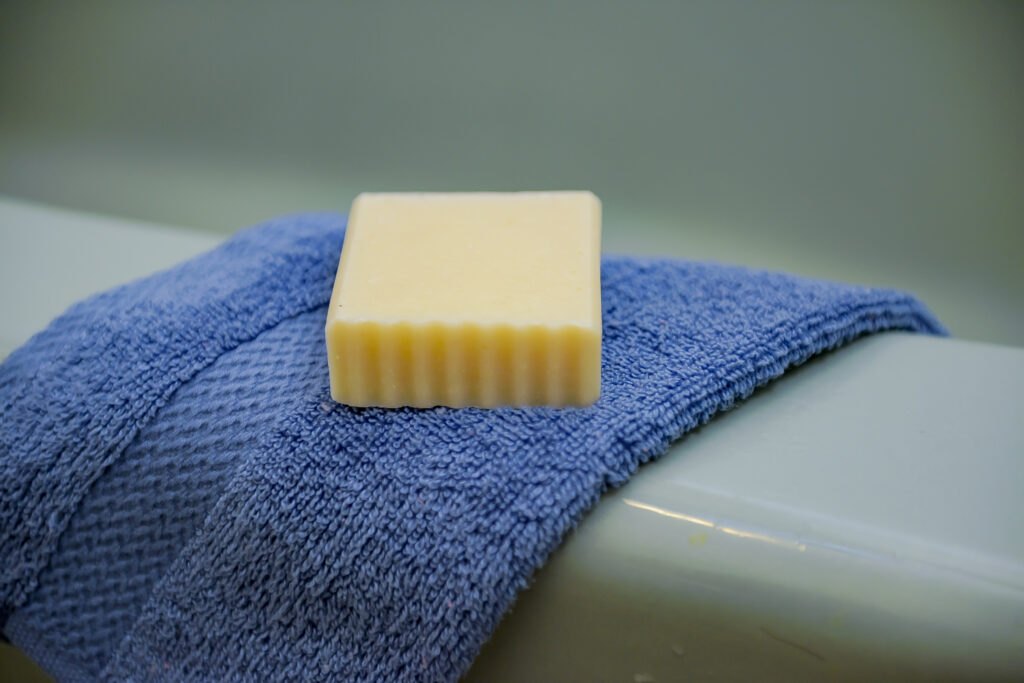
6 – Lye soap cutting and curing process
Cutting your soap is completely up to you. You can cut as thick or as thin as you like. The most standard thickness is often at 1 inch. For a typical soap loaf this will yield 10 bars of soap.
The best time to cut lye soap is the next day, typically 24 hours.
Another popular way to cut soap for gifts is to cut at one inch thick and then take each bar and cut in half. This way you have 20 small gift size bars of soap.
Tools to cut soap can be a semi sharp knife such as the hard plastic type.
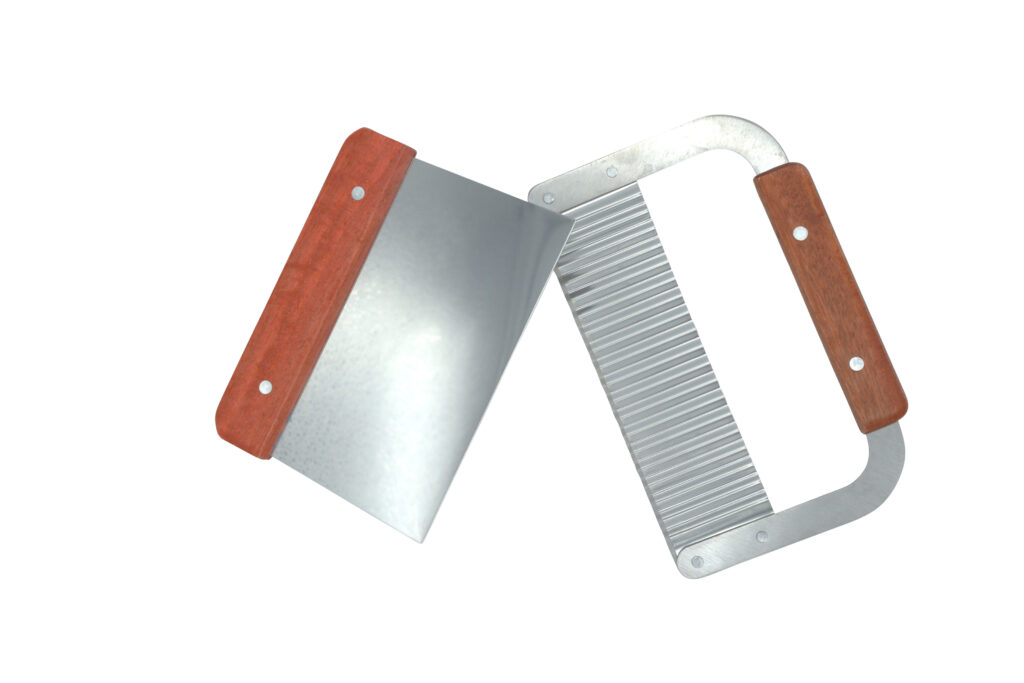
A common cutter is the soap cutter. Soap cutters are hard metal devices with a wooden handle to push through a soap to make bars.
The last type of cutter are apparatus made with a wire that allows an easy, even and clean cut on each bar of soap.
- Cut your soap using a soap cutter, a knife dedicated to soap cutting or a wire cheese/soap cutter.
- Cut them 1 in thick, or to any thickness you like (Just do not leave it as one full loaf for long, the longer you wait the harder it becomes to cut the soap because it will begin to cure and get harder)
- Let your soap bars sit in a cool dry place for 4-6 weeks to cure. (Curing removes the excess water from the soap, this causes the soap to last longer.)
- Rotate your soap, changing the part that it sits on around to allow even evaporation of water from your soap.
- If you want to track its rate of curing you can weigh the soap bar directly after cutting it and over the next few weeks weight it again. When the weight becomes negligible to track your curing process has completed.
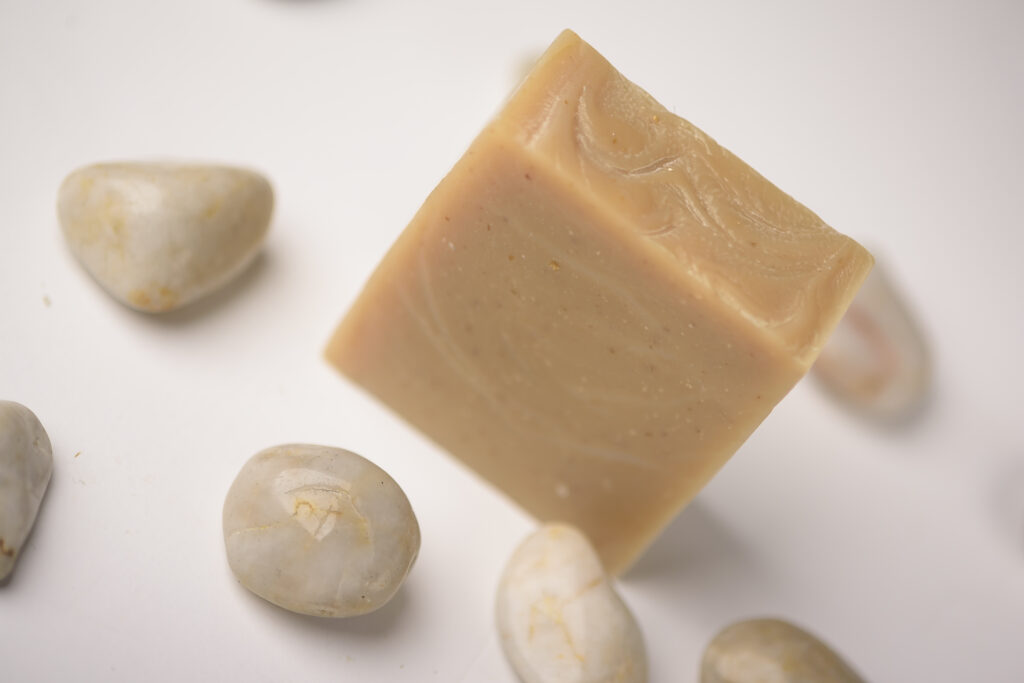
Congratulations on making your lye cold process soap
Adding new ingredients to a soap recipe will open your soap making world to a myriad of options. Although we used carrot this time you can use any type of vegetable that can be boiled and pureed.
Practice this technique at least two more times to make sure you get the hang of it. If any questions please do not hesitate to send us a message via our contact page or leave a message below in the comments section.
We would love to hear your success stories or if you are having trouble we would love to help you our.
We also carry soap making kits that are great to get started with if this is your first time making cold process soap.