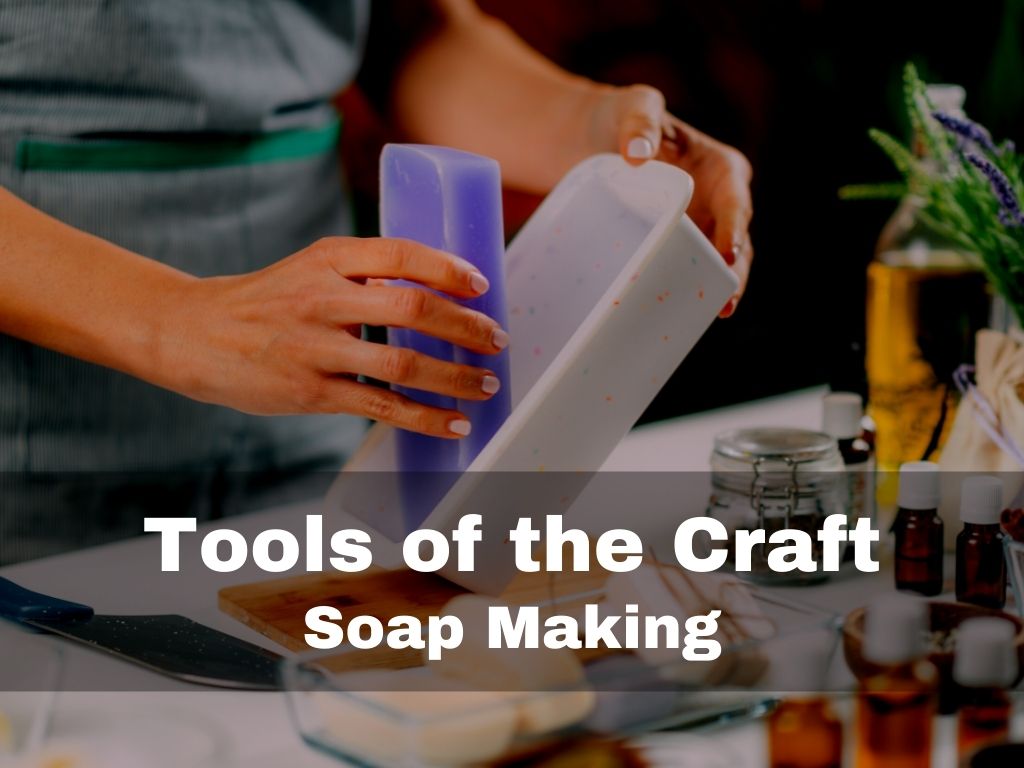
This Cold process soap making guide, tool of the craft article is here to give you that understanding of the basics needed to make cold process soap.
The most commonly asked question in soap making is how to make soap. Various types of soap but the key to making any type of soap is to understand the tools of the craft in making soap.
Soap making guide Quick Jump Table of Contents
- Soap Mold
- Scale
- Mixing Container
- Lye and water mixing container
- Oil pouring containers
- Fragrance container
- Soap mixing bowl
- Color mixing container
- Measuring spoons
- Ingredient Mixing Tools
- Spatula
- Whisk
- Stick Blender
- Mini Mixer
- Thermometer
- Soap Cutter
- Special Tools
- Strainer
- Mesh Teaspoon
- Potato Peeler
- Blender
- Swirl Wire Tool
- Soap topping tools
- Icing pipe
- BBQ Skewers
- Fork and Spoon
Soap molds
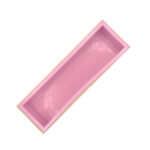
Molds come in many shapes and sizes of which any molds are designed specifically for soap making while molds for baking have been used to make soap. There are DIY soap molds made from old milk cartons, potato chip containers and much more.
Deciding on what mold you will use is not important at the beginning of your journey in soap making. I advise you to start off with two mold types. A 6 cavity separate soap mold and the standard 42oz loaf soap mold. These two mold types will help you to use many of the other shapes and sized molds out on the market.
Scale
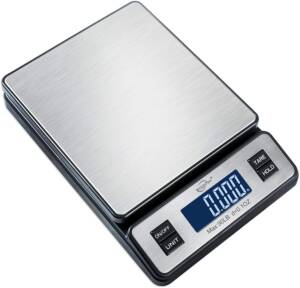
Not talking about fish scales but food grade measuring devices used to weigh things. Depending on where you are in the world you will want a scale that gives readings in grams or ounces. I personally use ounces and pounds.
Just make sure the scale is large enough to hold your container. We will talk shortly about choosing the right container for soap making.
Starting out you can use a scale that displays up to 1 decimal place but as you get deeper into your own recipes you will want one with two decimal paces to be more precise.
Soap making guide Mixing Containers
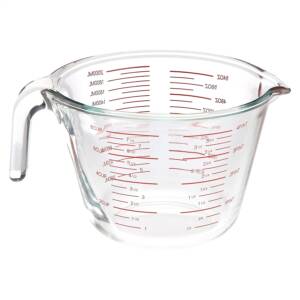
Containers used in soap making should be made to withstand temperatures up to 200 degrees Fahrenheit. Some of the processes utilized in cold process soap making involve handling super heated substances.
Lye and water mixing container
Depending on you recipe and lye water mixture you can have your mix reach up to 200 degrees F easily. Use heat tempered glass containers such as pyrex, steel containers or industrial plastic containers rated to withstand heat.
Do not assume that food grade containers that are rated to be microwaved can be used to mix lye solution or hold your soap batter. Its best to be safe than sorry and have your container melt in front of you.
By all means DO NOT use aluminum anything when soap making. Lye and aluminum do not have a good working relationship with each other. A chemical reaction will occur when ever the two meet and produce hydrogen gas. If you are wondering, yes hydrogen gas is extremely flammable. the good news is that it can rise quickly dispersing into the atmosphere before igniting.
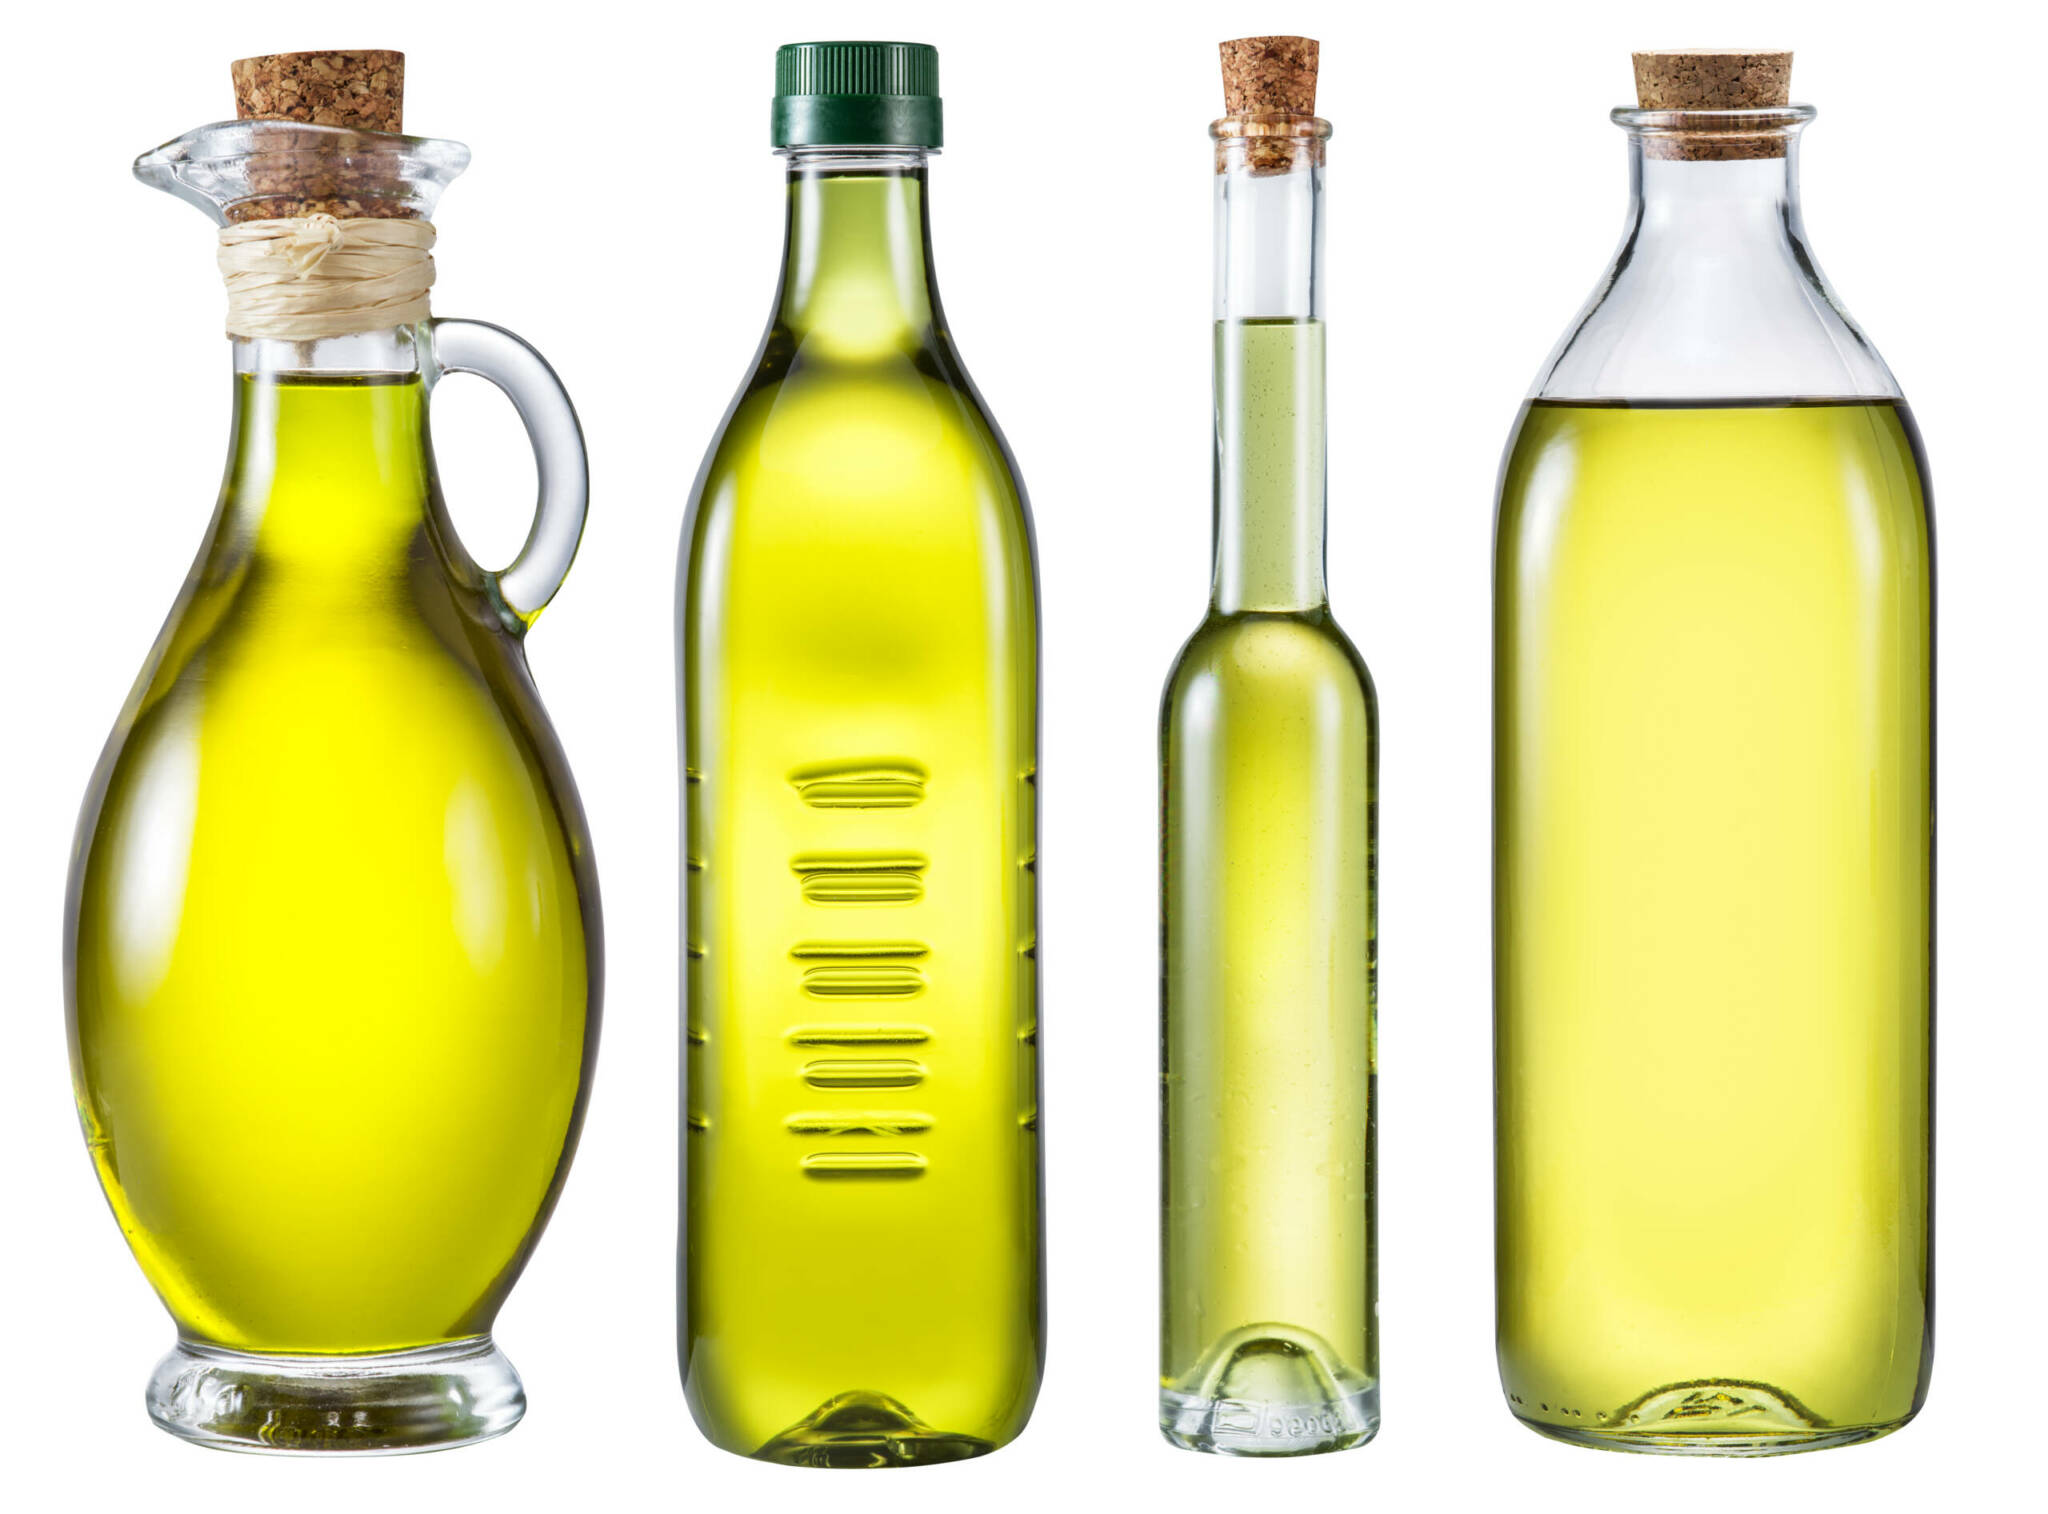
Soap making guideOil pouring containers
There are soap making recipes that will require multiple oils to make. In some cases there are some recipes that require up to five different oils for a specific soap. To be able to measure out the different oils accurately separate containers will be needed.
Oil containers do not necessarily have to be microwave safe but in most cases its best to have microwavable containers as some hard oils will be required to be melted in a microwave.
Another aspect of your oil container is the ability to easily pour the oil out of the container. For this a container with a pouring spout is recommended
Fragrance container
Fragrance or Essential oil containers come in very handy if you have to blend scents or handling just one essential oil.
Essential oils can eat through plastic like acid. You may not see the effects right away but the moment you pour essential oil into a plastic container it goes to work eating away at the plastic.
To avoid this, your fragrance containers should be made of glass for safety reasons and to have the container for a long time.
Most soapers tend to use small drinking glasses that they WILL NOT use to drink out of EVER again in Life. I cant stress this enough. Do not use your fragrance glasses for personal drinking purposes.
Soap mixing bowl
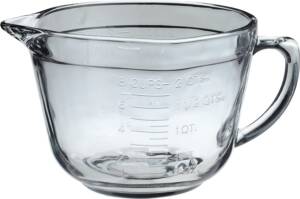
You soap mixing bowl is your main mixing container,
It is the largest container that you will have in your soap making tool kit. The soap mixing bowl is where all your ingredients will be added and blended together to make your soap batter.
When mixing all your ingredients your soap batter can reach high temperatures hence it is good to have a container that can withstand such high temperatures such as heat tempered glass or thick industrial plastic.
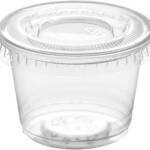
Color mixing container
The color mixing container is usually a small plastic container that can be used to pre mix your colorant with water or oil prior to adding it to your soap batter.
The mixing container can be made of any material you like, glass, plastic or metal. Most soapers will use the small plastic containers found in the stores as they are easy to use and for single usage.
Some soapers prefer to use shot glasses as they can clean them out and reuse the same container over time.
Soap making guide measuring Spoons

Although the bulk of ingredients used in soap making are measured by weight, there are some ingredients that require measurement by volume.
To get these measurements, measuring spoons are use. Typically teaspoon and table spoon are the most common sizes uses.
These measuring spoons are used to measure out colorants, sodium lactate and other small ingredients.
Soap making guide Ingredient Mixing Tools
Spatula
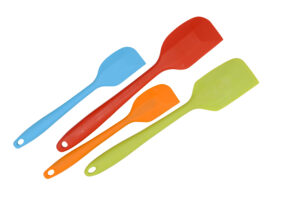
The spatula is one tool you cannot do without. It can be used to help mix your lye solution and to mix your soap batter. There are many types of spatulas on the market but I recommend you stick with the silicone spatulas. These are versatile and can withstand the heat of lye water and soap batter.
Another good point about silicone spatulas is that they can be colorful or bland which ever you prefer.
Whisk

The whisk can be seen as not important but I found it to be indispensable when it comes to mixing my water and lye solution.
Yes a silicone spatula can be used however depending on the the size of your lye water container you may not have enough room to swirl your lye and water. A whisk on the other hand agitates the solution and helps the lye dissolve into the water easily.
WARNING using any type of spatula is not recommended. As stated before aluminum and lye do not work well with each other so you want to AVOID using an aluminum spatula at all cost. Some silicone wrapped whisk may have aluminium as its frame, again I recommend you stay away from these types.
Stick blender

A stick blender is usually used in the kitchen to puree fruits and other foods. It was found useful for blending lye water and fats together to cause the process of soap making to begin. You may know the sick blender by one of its other names;
- immersion blender
- hand blender
- wand blender
- mini blender
- grind blender
In soap making a stick blender is invaluable its a must. Well maybe not a must as you can use a whisk to blend your ingredients together. Unfortunately the hand process could take you a few hours, about 5-10 of continual stirring.
Mini Mixer
Mini blender can refer to a stick blender but also to a small hand held blender that is uses to mix colors and other additives.
I have found this mixer to come in very handy when adding color to my soap and you will be glad you have it with you as well.
Soap making guide thermometer
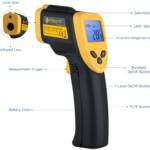
The handy dandy thermometer is some what of a need that you don’t really need. Here is what I mean. The thermometer is used to keep track of your lye water mix temperature as well as your oils and soap batter. It can be used to monitor the chemical reaction of sapoification of your soap batter in its mold as it heats up.
As useful as the thermometer is over time of making the same type of soap you tend to know the recipe and technique well enough not to use it.
I must caution you on this matter as your home temperature is not always the same hence the surrounding temperature can and will affect your ingredients and your soap making process. It is good to keep a thermometer handy.
The laser thermometer is easiest to use and it is quicker than others.
Soap cutter
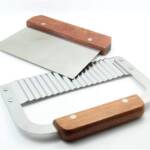
The soap cutter is often the tool used at the end of loaf soap making. A loaf of soap is not ergonomically sound to hold 2 pounds of soap.
To break the loaf into smaller pieces or bars a soap cutter is used. Soap cutters come in two main types. A ridged cutter such as a non serrated knife or an actual soap cutter.
The other is often of the wire kind and can be made into various tools.
Soap making guide Specialty Tools
Strainer
Strainers are used to.. well strain things. Often when the need arises to separate liquid from larger items a strainer is used.
When mixing lye water for example sometimes a bit of hard crust can form on the top of the lye water. Depending on soap you are making this may manifest as flaw in the soap.
To avoid having such flaws, in their soap, soapers will use the strainer to separate this crust from the rest of the lye water.
Mesh Teaspoon
The mesh teaspoon may look like a strainer but in actuality it is used to make pencil lines or colored toppings of the the soap.
Some form of powered is introduced into the mesh and by tapping it allows the powder to be spread onto the soap.
Potato Peeler
A potato peeler is not used to peel potatoes in soap making although a recipe may call for potatoes. Instead the use of a potato peeler is for plaining the edges of the soap bar.
As an aesthetic look to the soap, some soapers will strip the sharper edges of the soap for a more stream lined look.
Soap making guide blender
A blender can be used to grind coffee beans for a topping, break up oat meal to be added to an oatmeal soap or just to blend other ingredients to be added to a soap recipe.
Swirl Wire Tool
The swirl wire tool is used to mix colored soap in a loaf mold. This tool is a hard wire that can be bent to fit the dimensions of you soap mold.
By churning this wire in the soap batter that is in the mold can help develop a bit of swirl in the soap.
Soap topping tools
Soap top design is not a necessary step however for those who prefer to have visual appealing bar of soap some topping design is needed.
There are some traditional tools that are used that can be easily found and used to help raise the appeal of your soap.
Icing pipe
Piping soap as a topping can be time consuming but very appealing. The use of a baking pipe to squeeze our saponified soap on the top of the soap is a great form of soap designing.
BBQ Skewers
Skewers are great for the grill however they come in vey handy when etching a design on the top of your soap. the pointed end and the flat end both make great lines when drawing on the top of the soap.
Soap making guide fork and Spoon
Yes a fork and or a spoon can be used as a specialty took in soap making. Just like other topping designers the use of a fork or spoon can help make uniquely designed toppings.
Starting out you may want to consider using a plastic spoon and fork but over time you will find the right size spoon and fork to use and its usually a metal type spoon and fork.