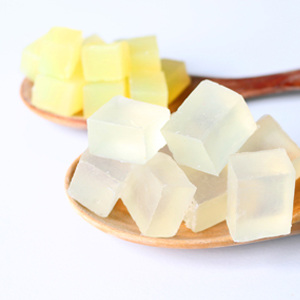
Melt and pour soap is by far the easiest way to get in to soap making. The method is in its name, melt and pour. However there are a few problems you may not be aware of when it comes to this method.
There are 6 common melt and pour soap problems such as discoloration, burning, sweating, ripple development, mold growth and layer separation.
Getting into melt and pour soap making you will undoubtably encounter one or more of these problems so its good to know what they are and ways to avoid them.
What causes melt and pour soap discoloration.
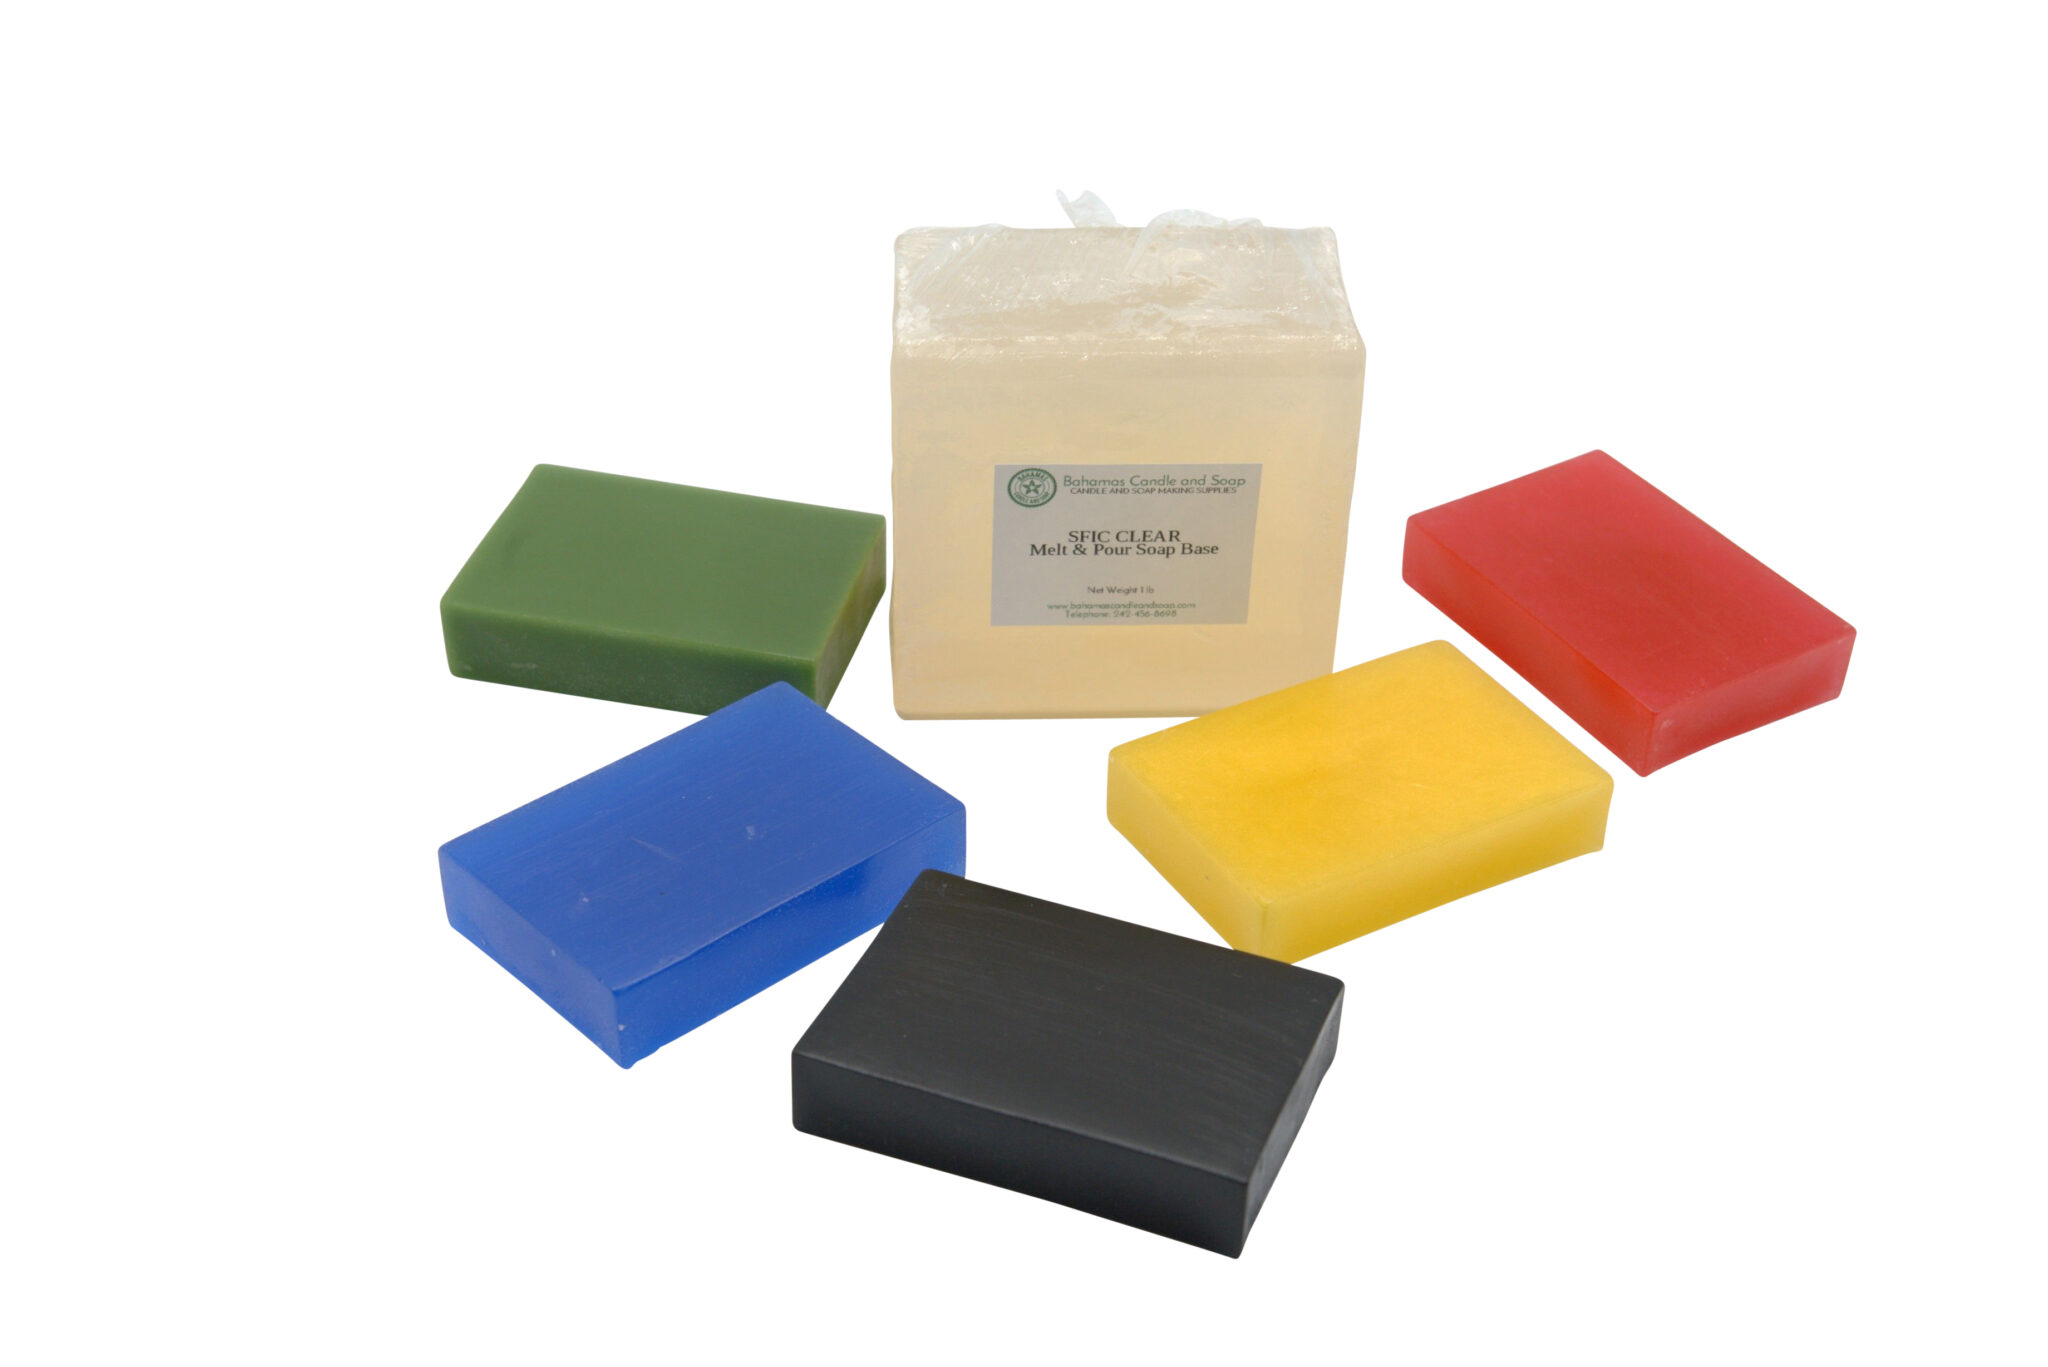
Discoloration in melt and pour has nothing to do with the actual soap base but mainly due to additives. That’s right melt and pour soap will generally keep its color whether is clear or white or slightly off white as long as you are careful of what you add to it.
Fragrances are often the biggest culprit of discoloration in melt and pour soap especially any fragrance that has vanilla in it.
Without getting to technical vanilla contains a substance called vanillin which causes soaps to naturally turn a brownish color. This can be counteracted to an extent with a vanilla stabilizer however its not guaranteed.
Another major additive that causes discoloration are botanicals. Rose petals, lavender buds or calendula petals are favorites with soapers however they can and will leak or drain color into your soap.
To avoid this leakage its best to use hot water to help leach out some color then let the petals dry on their own before adding it to the soap.
Why does my melt and pour soap have a burnt smell?
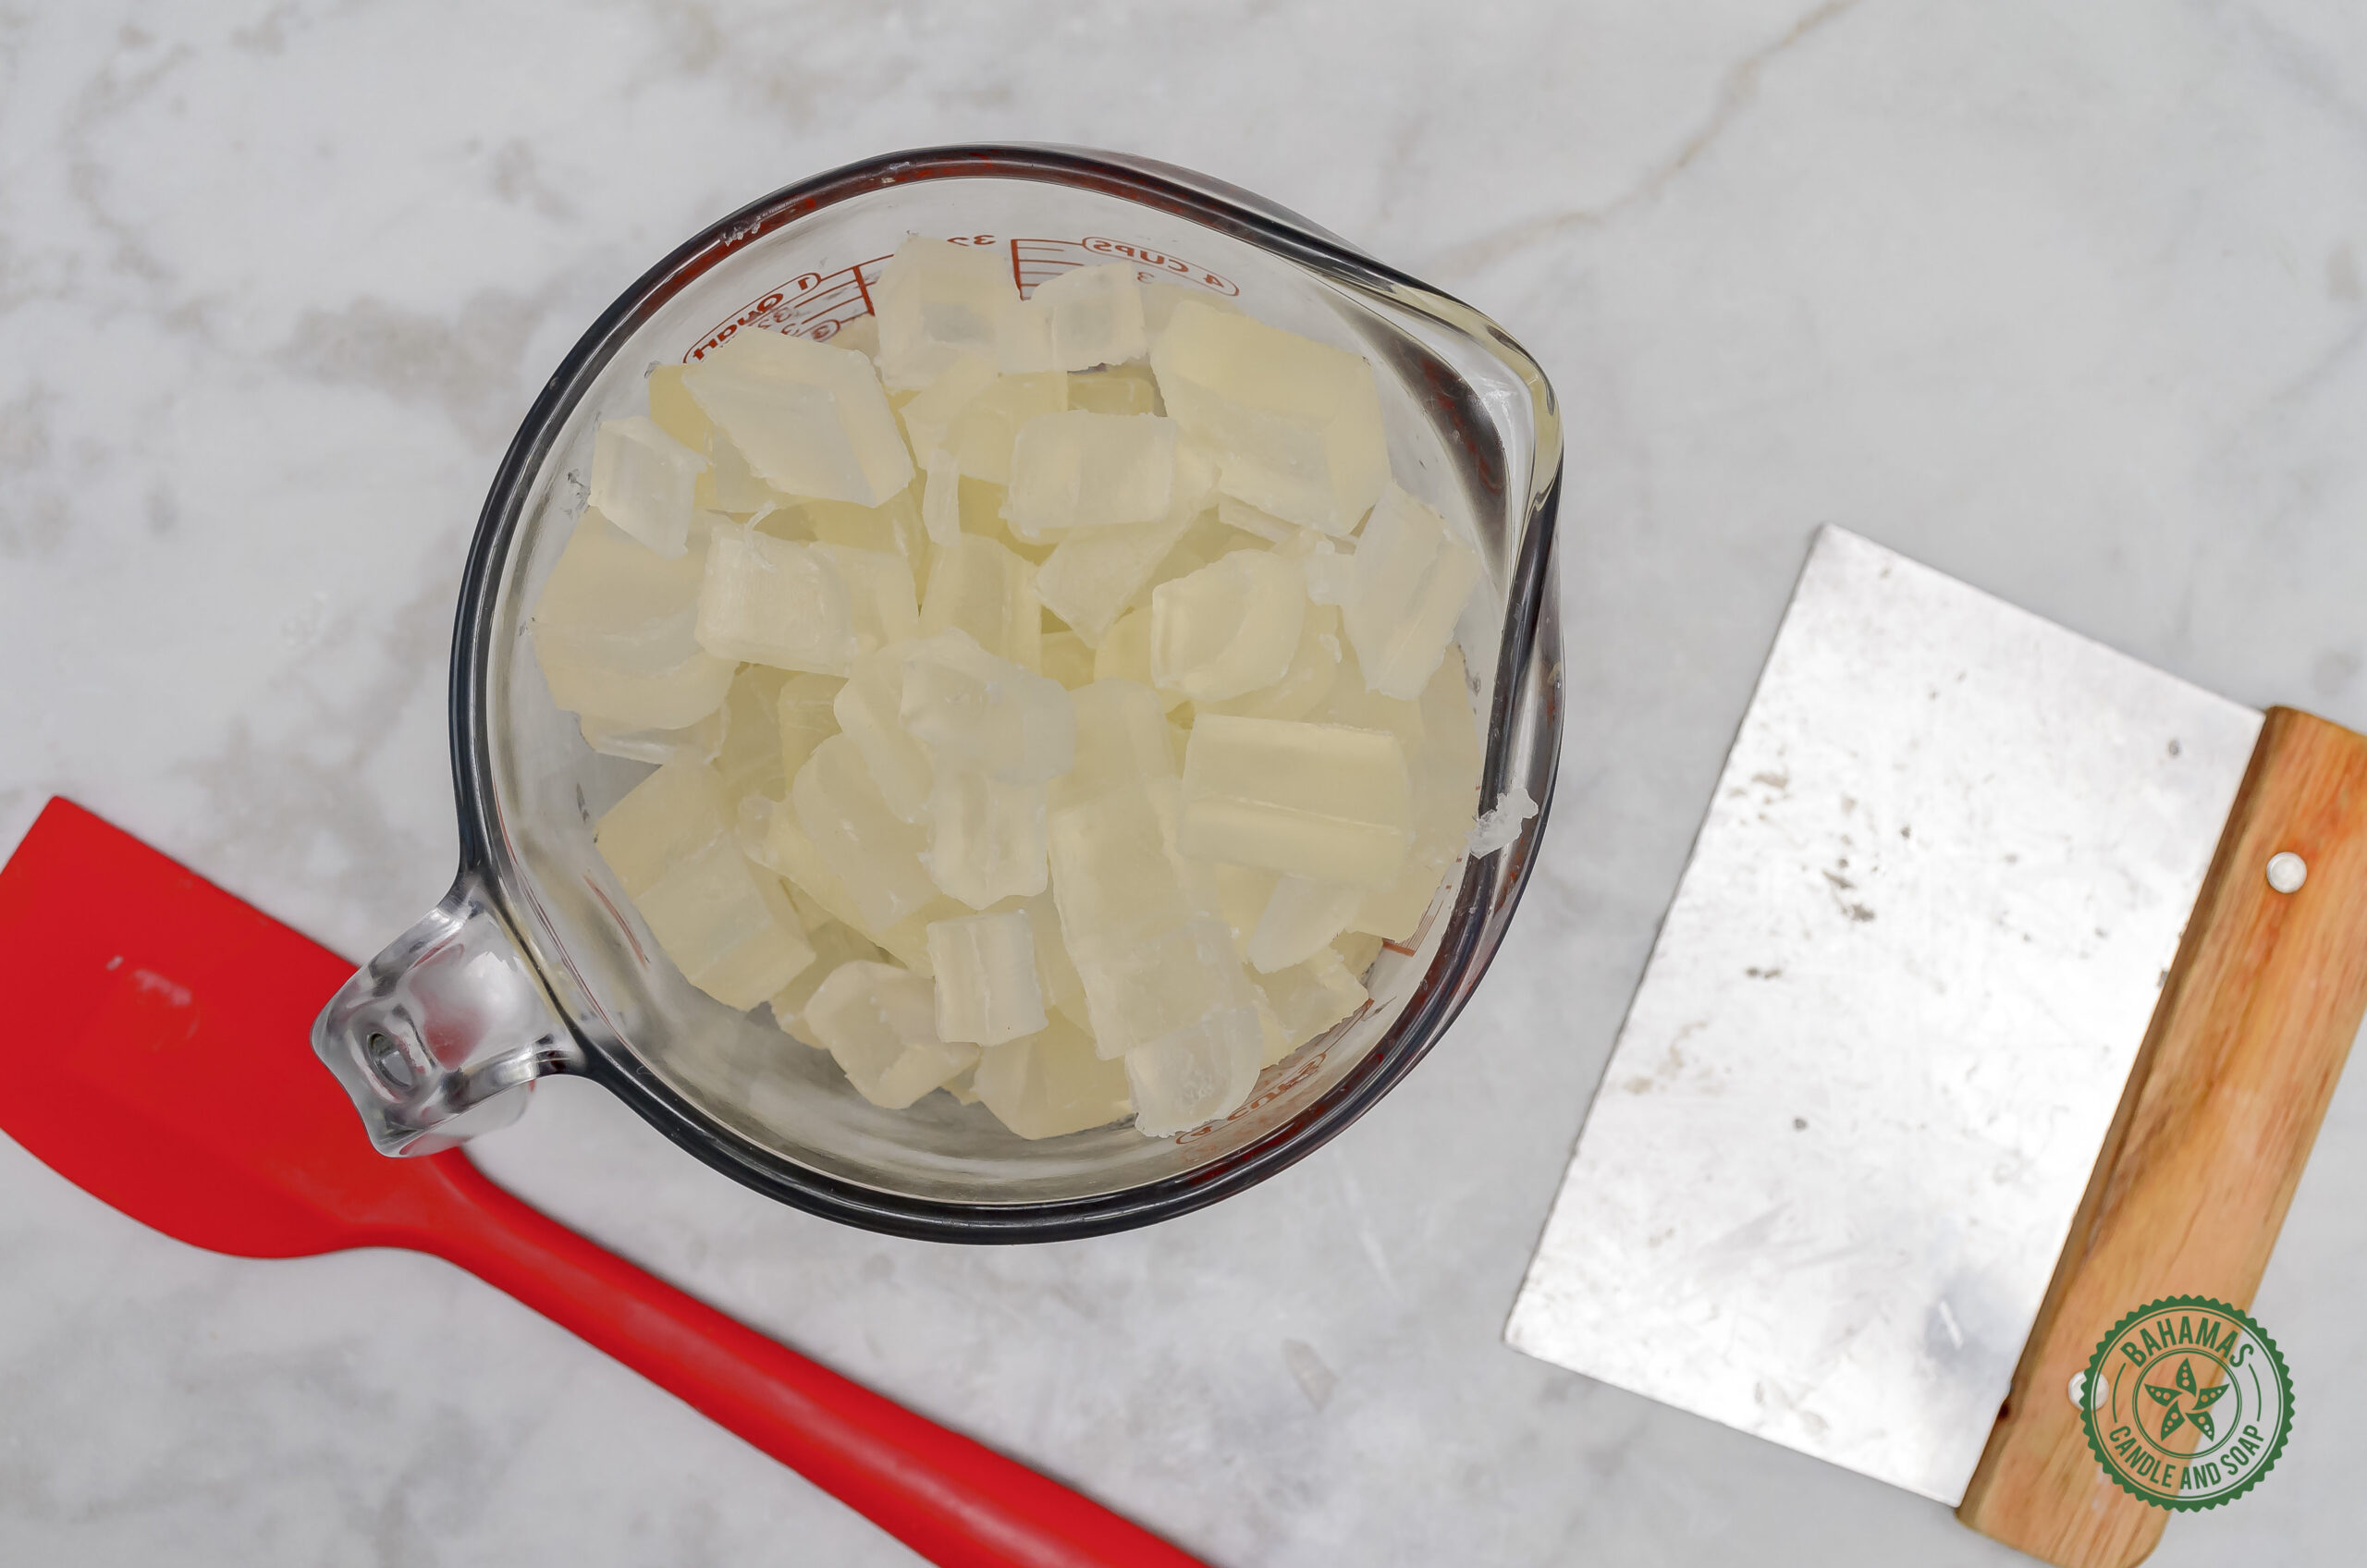
There are several brands of melt and pour soap on the market today however they all have a melting point close to each other. Knowing the melting point of your particular brand of melt and pour soap is key to knowing why your soap has a burnt smell.
Melt and pour soap tends to reach its melting point at 120 degrees Fahrenheit. This is where the magic begins to happen and where you most often work with your designs for your soap.
Although the melting temperature is rather high the burning temperature is not far behind. If you allow your soap to heat beyond 140 and sometimes up to 160 degrees Fahrenheit you have reached the point of no return and risk burning your soap.
Melt and pour soap begins to burn at 140° F because at this point the remaining fats within the soap which gives it its moisture begins to burn off. This burning of the fat causes the burnt smell of your soap.
To prevent this from happening, always use a laser thermometer to monitor the heat of your melt and pour soap.
Why is my melt and pour soaps sweating?
If you see your melt and pour soap with lots of prickly water like droplets on it, no need to fear this is a side effect of using melt and pour soap called sweat.
Yes melt and pour soap does sweat in a sense. The droplets of liquid that forms on your soap is actually a process where the glycerin in your soap is attracting the moisture in the air to the soap.
Glycerin is a natural byproduct of the soap making process and its what keeps your skin moisturized when taking a bath. Glycerin is a known humectant, which means it has the ability to attract moisture.
When your melt and pour soap sweats, this process is underway because bathrooms tend to hold a higher level of moisture than other parts of the house, the soap will begin to attract this moisture causing the soap to sweat.
Soap sweat is not damaging to the soap nor your skin. You can pick up the soap and bathe with it as usual however if you wish to avoid this process its best to keep your melt and pour soap in a dry area or in a container to avoid or reduce contact with moist air.
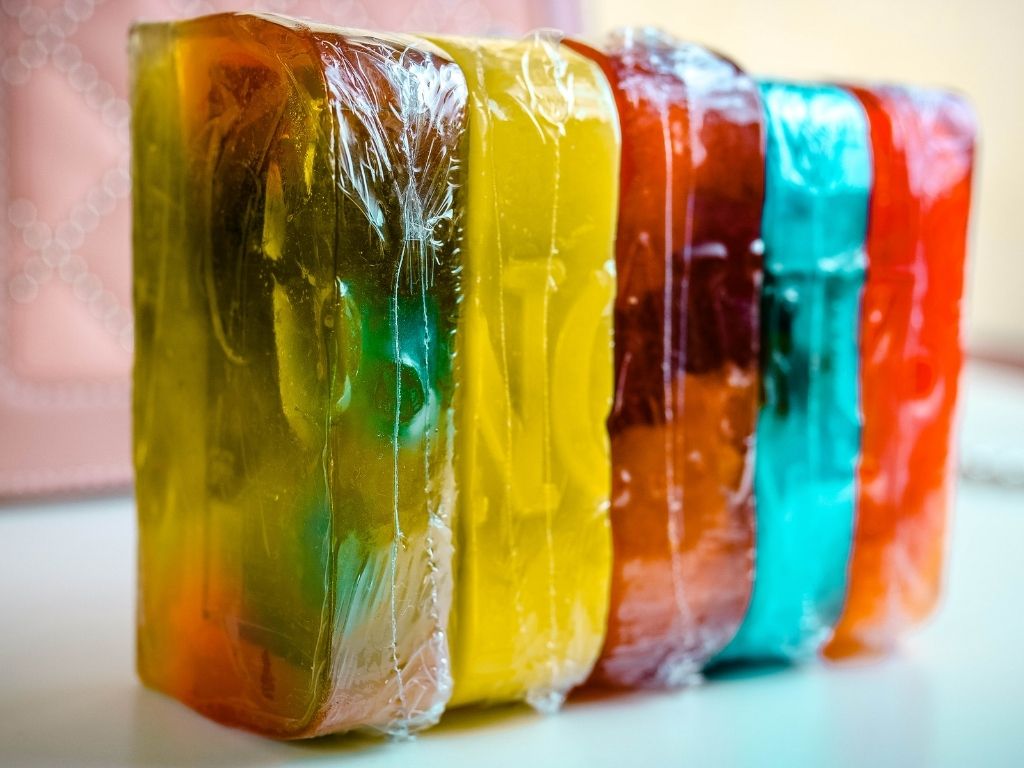
A second method is to wrap your soap in cling wrap after use. Its a bit tedious but it gets the job done. If you have a bathroom with a window, keeping the soap on the window sill keeps fresh air moving over the soap and once the air is not moist you tend to have less sweat.
Do melt and pour soap grow mold?
On its own melt and pour soap will not grow mold however certain additives will cause the development of mold in your soap.
Additives are often the culprit to most of melt and pour soap problems. Much like discoloration of the soap additives can also cause mold to grow in your soap.
Particularly organic matter will cause this to happen. This goes back to plant matter and other organic matter that you may want in your soap for beauty or medicinal reasons.
Organic matter will continue to decay, and being placed in a substance that can absorb water will cause it to decay faster.
Mold is in everything but in the right moist environment it will thrive. Melt and pour soap is such an environment.
This molding will not happen quickly and is often seen in soaps that have been exposed to water and left for months on end. This gives the organic material time to spawn the mold and for the mold to spread throughout the soap.
Typically we here at Bahamas Candle and Soap have only seen this happen in soaps left in a moist environment for over 6 months.
To avoid this problem, properly wrap your soap in cling wrap to reduce its contact with the air.
What causes separation of melt and pour soap?
Melt and pour soap separation pertains mainly to the development of layers. Soap layering is a technique used to place one layer of soap on top of the other often in different colors.
This is a common technique however if done improperly will cause your soap to separate either when you remove it from the mold or when you use it to take a bath.
The technique of layering requires two things. Precise monitoring of temperature and rubbing alcohol preferably 99% specialty but the 70% can work as well.
When layering you have to monitor the temperature of the lower level and the level you about to pour onto the bottom later. The bottom layer has to solidify but cannot be too cold. The top layer cannot be too hot neither too cold.
Keep the lower layer around 80° F and be careful to keep the temp of the top layer between 110-120° F. The most important step however is to ensure to add a generous amount of alcohol to the lower level before adding the top layer.
The heat will help the alcohol to evaporate pulling it into the lower layer and fusing the two. If the temperatures are off such as the top layer is too hot it will burn through the lower level and if the lower level is too cold the alcohol will not burn off to fuse to the top layer.
Its requires practice with your brand of melt and pour soap but if not carried out properly your soap layers will separate.
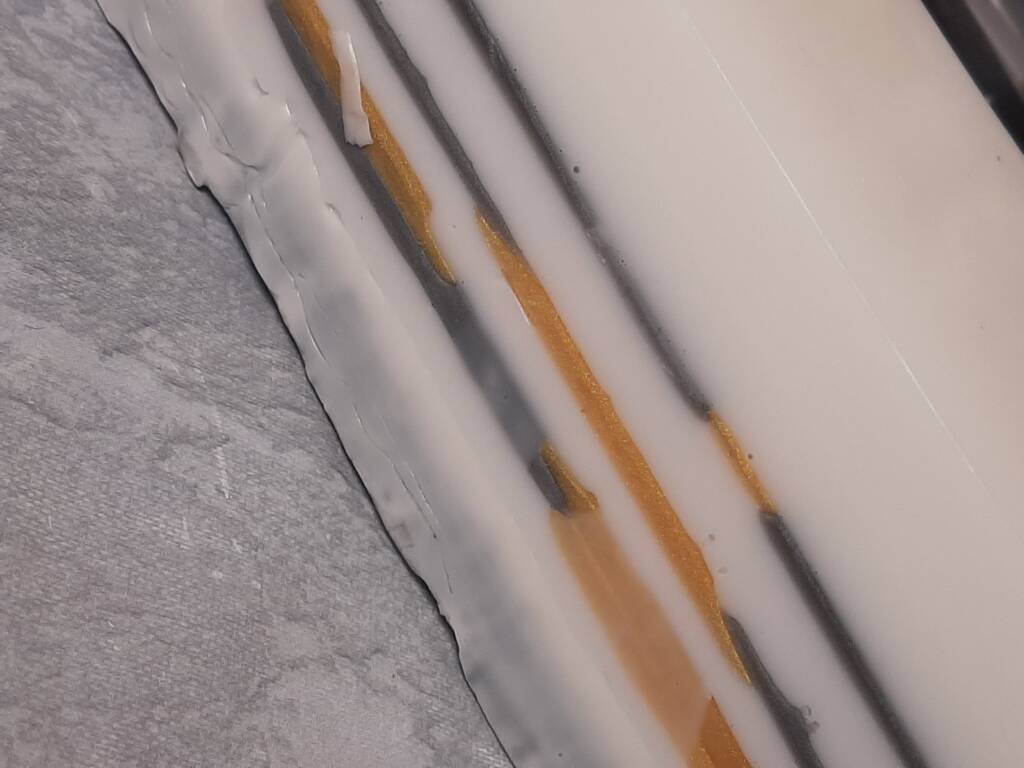
Why are there ripples on top of my melt and pour soap?
Soap ripples form on top of melt and pour soap when the soap has not solidified as yet and you move the mold or shake the table that the soap is on.
This causes a shock wave to flow throughout the soap like a wave but instead of settling back down it stays in that wave pattern.
The top skin of the soap is often the first part of the soap to solidify so its often a thin layer that you can touch without your finger going straight through. The under lying part however will still be in a liquid form so this liquid form moves and distorts the top skin layer into ripples.
To avoid soap ripples if you do not want it as a aesthetic design, is to ensure when making melt and pour soap that your soap is placed on a level and sturdy table.
If the table can be bumped make sure all children and persons stay away from the table for a few hours until your soap has solidified in the mold.
Why does my melt and pour soap has low lather?
Melt and pour soap is ready and can be uses straight out of the package. However as mentioned twice in this article additives will affect the performance and look of your soap. Low lather is no different.
Adding too much of an item will noticeably cause a reduction of lather. This is often seen when adding powders or additional oils.
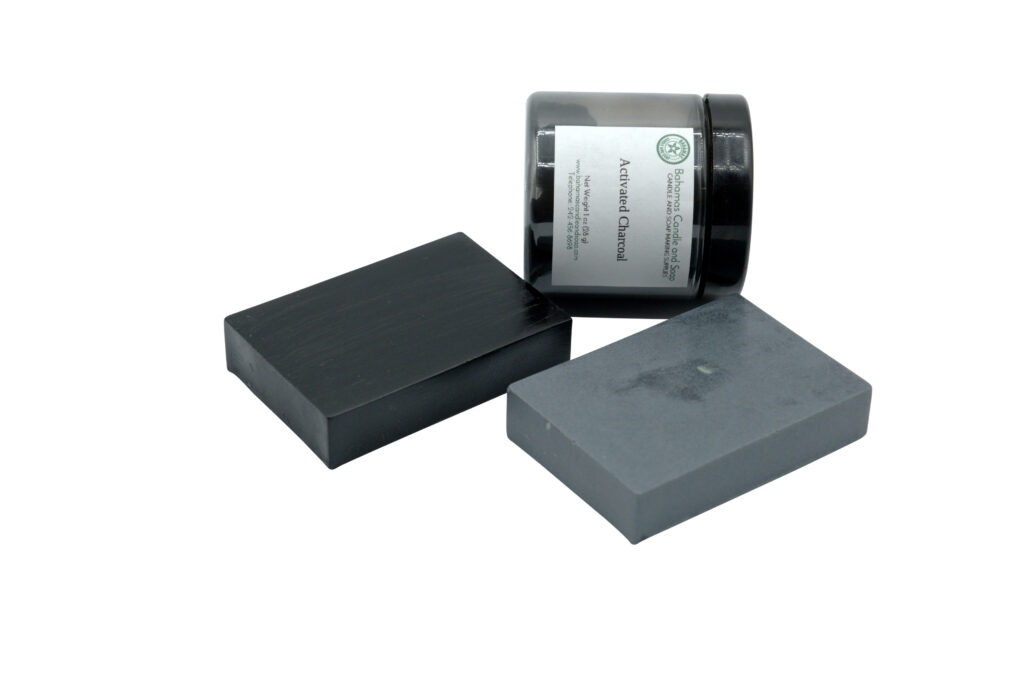
Powders such as clays or even activated charcoal in excess will increase the volume of the soap hence reducing the amount of soap to power ratio.
With more of the powder there will be less soap hence your lather will be affected.
Adding oils will also cause this low lather affect. While adding oils will increase moisture it will decrease the ability to lather as oil by itself does not lather.
To prevent a loss in lather use small amounts of additives to your soap, just enough to give the desired affect but not too much to disrupt the ratio of soap to additive.