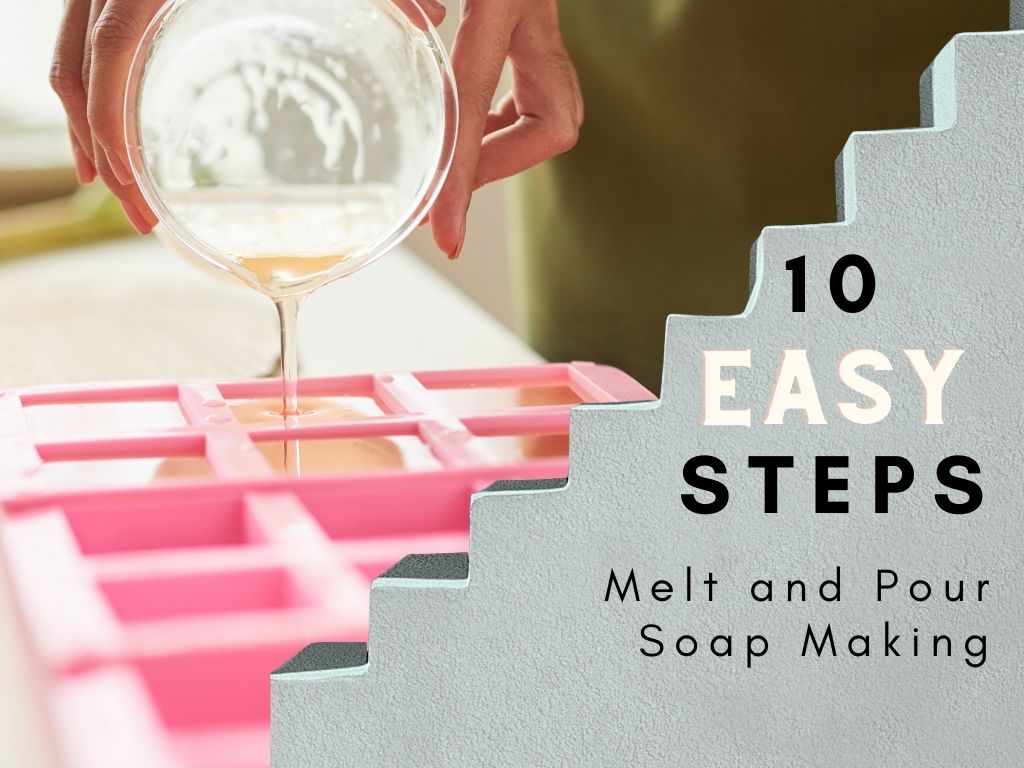
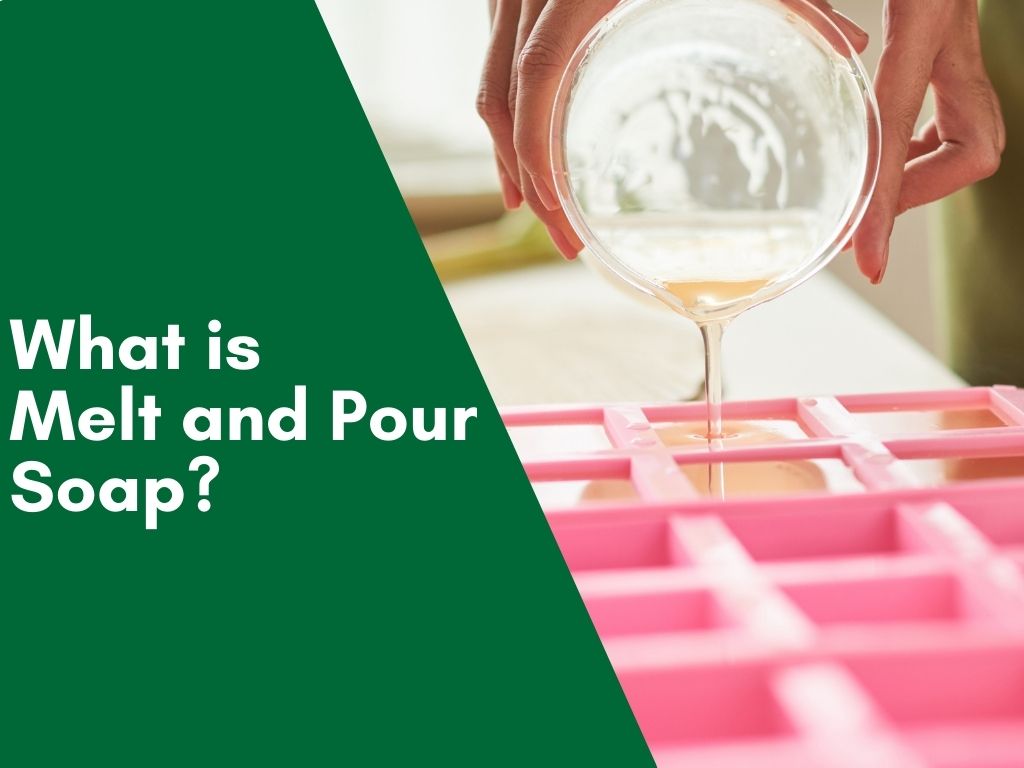
Making melt and pour soap is fairly easy, in fact it is so easy it’s often the first type of soap we recommend new soapers get into. However too many persons find themselves with melt and pour soap making problems.
This may seem weird but its so simple that many believe the technique should be more difficult. You literally melt the soap base, add your own personal touch to the soap if you want, pour into a mold to shape it and let it sit until cooled and hardened. That’s it you’ve made soap.
There is however a number of issues that can arise if you do not follow the simple instructions. Below I will discuss 5 melt and pour soap making problems, overheating, separation, discoloration, deformation and low lather.
Each of these problems can be avoided once you keep your soap at the right temperature, use rubbing alcohol properly and use recommended amounts of additives.
Table of melt and pour soap problem contents
- Overheating
- Separation
- Discoloration
- Deformation
- Low Lather
Problem #1 – Over heating your melt and pour soap.
The one technique that helps make melt and pour soap is the ability to melt the soap base properly. This seems a simple matter however it can be an issue if you do not follow this simple guideline of maintaining the right temperature of your soap.
What many new soap makers may not know is that melt and pour soup can be burnt between 140 – 150 degrees Fahrenheit. This burning will leave a not so pleasant smell in your soap that is near impossible to get rid of. In most instances the soap will still be good to use but the scent will remain.
To avoid this burning of the soap you should have a thermometer when making melt and pour soap. We recommend a laser thermometer as its easy to use and quick. The key here is to keep your soap temperature between 125-130 degrees F as a safe range.
Melt and pour soap begins to melt around 120-125 degrees but begins to get burnt around 140-150 degrees. Hence keeping a nice flowing liquid melt and pour soap is best at 125-130 degrees.
How to Melt your melt and pour soap?
When melting yours soap be sure to cut the soap base into chunks about an inch in length and width, you do not need to be precise but thereabout is fine. Place the cut up pieces in a heat resistant container to be melted in the microwave. We recommend heat tempered measuring cups. Heat the chucks in intervals of 10 – 20 seconds. This is very important.
If you place the chunks in the microwave and set for 60 seconds you run the risk of overheating and burning your melt and pour soap. All microwaves do not have the same output. Its safer to heat at 10-20 second intervals checking the temperature and stirring un-melted soap until its all melted.
A second method is to add your cut up melt and pour soap base to a double boiler and allow the soap melt this way. There are advantages and disadvantages to both methods. One being that the microwave is faster but the double boiler method the soap stays hot longer.
Which ever way you decide to use the point is that every so often you use your thermometer to check the temperature. If you are making a large batch of melt and pour soap it may come to a point where the temperature is reaching 130 degrees F. You do not want to continue heating the soap at this point.
Instead remove the container from the microwave or double boiler and stir with a spatula. The heat from the melted soap will continue to melt the chucks of un-melted soap. Eventually all the soap will be melted. Maintain a watch on the temperature as you do this. As you stir the temperature will fall and if it gets lower than 125 -120 degrees you want to reheat.
Once all your soap has been melted keep a watch on the temperature. Optimal pouring temperature for your soap if you are not doing any layers or swirls is between 125-130 degrees F.
Other issues with over heating.
Scent burn off – Having high a temperature for your melt and pour soap will cause scent burn off. Scent burn off happens when you add your fragrance at high temperatures, the head causes the fragrance to evaporate before it blends with the soap.
In this case you would most likely not get the results you want for fragrance and depending on the temperature of the soap at that time you may have burnt your soap slightly giving you an inaccurate scent in your soap.
Sunken additives – Depending on the weight of your additives, if you add them to your soap at a high temperature you can cause them to sink to the bottom of yours soap. If your intention was to have the additive suspended in the melt and pour soap this will not happen with overly hot soap.
As melt and pour soap melts it becomes fluid, and the hotter it gets the easier it is for heavier additives to flow through it like water. This is most noticeable when using a botanical or even heaver pigments.
Again the best way to avoid this issues with melt and pour soap is to add the soap in at a better temperature like 125 – 130 degrees F.
Melt and pour soap making problem #2 – Separation of your soap
Melt and our soap separation is a common occurrence and can happen to even the best of us, however there are some steps that can be taken to avoid this embarrassing phenomenon.
What causes melt and pour soap separation?
There are actually 1 main reason your melt and pour soap would separate as a layer. Simply put a tight bond was not made between your layers of soap.
Melt and pour soap separation usually occurs when making layered soap. The bond between the lower level soap and the top layer soap sometimes is not tight enough hold the soap together. Usually as soon as you remove it from the mold it separates.
Another way and time that your soap would separate is during use. This is where a bond was made between the layers but it was not strong enough and through use of the soap it tends to separate.
How to avoid melt and pour soap separation?
When making layers in melt and pour, if ample alcohol is not added prior to pouring the other top layer, this is one reason your soap may separate when finalized and in use.
The alcohol as it evaporates from the heat of the melt and pour helps bind the top layer to the bottom layer. This heat temperature is important in that if it is too hot such as above 135 degrees F you can melt the layer below and cause your colors to mix instead of sitting on top of each other.
This can also happen if you pour too soon and do not allow the first layer to solidify to at cooler temperature between 110-118 degrees F. Another way your top layer will break through the bottom layer is if you pour from high and the weight and heat breaks through the lower level.
Make sure your lower layer has cooled between 110-118 degrees F and make sure you add ample alcohol to the lower level before pouring the new layer at a temperature of 120 degrees F. This will be enough heat and alcohol to cause a strong bind between the layers.
For more information on how to avoid your melt and pour soap separating CLICK HERE
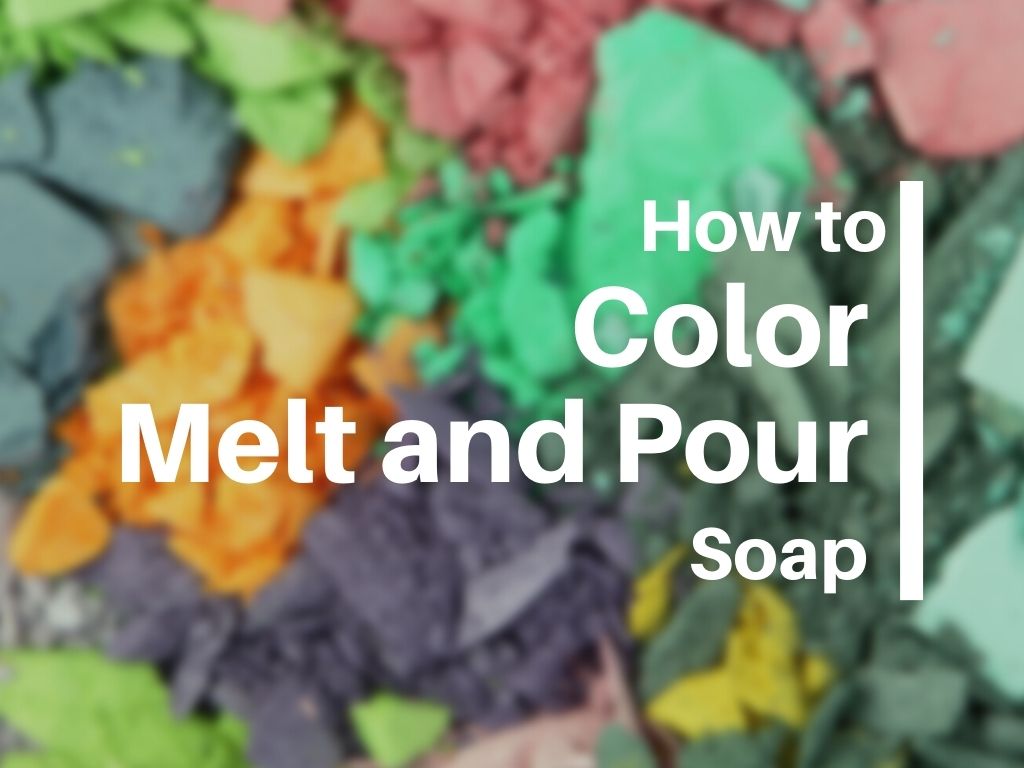
Problem #3 -Melt and pour soap discoloration
Some fragrances such as chocolate have a high vanillin content. Vanillin is an extract from the vanilla bean and is used for fragrance and flavoring. It will discolor soap to a brownish color.
Color bleed – Using items or colors that can run or bleed within the soap or to another layer of soap is possible. Using botanical can also cause the flower to bleed its color into the soap. The soap is hot and organic mater continues to decompose hence they will turn brown and leak into the rest of your soap.
Problem #4 – Deformed soap
This form of melt and pour soap making problem happens when your soap is left to solidify in the mold but the mold is on an uneven surface. Melted soap is a liquid and will find its own level. If your surface is not leveled your soap will be warped when it solidifies.
Soap ripples – This is similar to warped soap except it happens when the soap is re-solidifying and the table or mold is disturbed. This causes the partial melted soap, in gel form, to create waves from movement which eventually harden into ripples. To avoid do not move your mold or bump the table.
Bubbles in your soap – bubbles are often formed from over agitating the soap when adding your additives. Gently mix in your additives to prevent bubbles forming. Another way bubbles are added to your soap is through pouring at a high distance. Pour your soap low to the mold and slowly. Remember to spritz rubbing alcohol on the top of your soap to get rid of any top layer bubbles.
Soap making problem #5 – Low or little lather
This is often caused by adding other ingredients like oils and butters. Remember the melt and pour formula was made to be melted designed how you want it and then re solidify. Adding extra oils can reduce the overall lather. In fact adding any other additive can affect the lather if too much as added. Keep additives to a minimum.