Overview
Melt and pour soap making has had a surge in the past few months. Many persons feel safer making melt and pour vs cold or hot process due to the fact that there is no interaction why sodium hydroxide aka lye.
This makes making melt and pour soap an activity that can be carried out by younger persons. While the actual age is debatable, persons have make soap with their children as young as 4 years old.
The safe bet is that any age of a child is acceptable once they have good control of holding cups, some degree of pouring liquids and of course supervised and assisted by an adult.
The safe age bases on body coordination would be about 5-7 years of age that a child can successfully make soap with minimal supervision. It is not advised that a child be allowed to handle heated soap, melted soap on their own. Please be very careful of this.
Having said that making melt and pour soap can be a fun activity or even business that can allow you to express yourself creatively. Following safety protocols in handling melted soap and how to color and add other ingredients can all make a soap unique to the user.
We recommend that as a beginner you take your time to learn the basics of melt and pour soap making and once you are comfortable with the process develop your own technique. Melt and pour soap making can be made simple by following these beginner 10 steps allowing creativity to be the main ingredient.
Table of Contents
- Inspiration
- Safety
- Design
- Preparation
- Ingredients
- Equipment
- Order / Technique
- Cut and Cure
- Packaging
- Troubleshooting
- Final Thoughts
Step 1 – Melt and pour soap inspiration
Melt and pour soap making is fairly easy when compared to cold or hot process soap making. This however is overshadowed that much like cold and hot process soap making planning and patience are the main ingredients to melt and pour soap making
The beauty of melt and pour soap making is that its is quick and easy, however you can run into problems fairly quickly if you are not prepared or skip safety steps.
The first step to making melt and pour soap is to be inspired. No you dont need to watch or listen to inspirational speakers on YouTube but it is good to take a look at final products on pinterest.
Here is how to actually do this because the beautifully designed soaps you will see will either make you excited to get started or it will overwhelm you to the point of inaction. There is a way to be inspired and a way to be discouraged and there is a fine line between the two.
Visit Pinterest and search out melt and pour soap. You will be bombarded with many soap images and articles that will give you an idea of the potential of this method of soap making. To not go overboard or feel overwhelmed you must limit yourself to no more than 1 hour on this app for your first time.
If you have been here before that is ok you would know if you are excited or feeling unsure by this time. Which ever feeling you have you must know that it is time to cut off the inspiration. The images are only there to give you and idea of what is possible with melt and pour soap.
Keep these images in your mind and not in your eyesight at all times. If you continually look at these images you will find the basic steps listed below to be boring and you will skip than and prolong your soap making skills.
Know that the images you see on social media were taken and made by persons that have been soap making for a good while. You are most likely a beginner and should inspire to reach those levels.. and you will.
The journey of 1000 miles begin with the first step
Lao Tzu, Chinese philosopher
Congratulations you have taken the first step to becoming a great melt and pour soap maker. Be inspired but not overwhelmed. Know your capabilities and understand your own as your grow.
Step 2 – Safety gear for making melt and pour soap
Safety is always #1 with Bahamas Candle and Soap. You know we take our time to teach safety rules to abide by before any of our classes.
What is the use of learning a new skill if you are injured in the process?
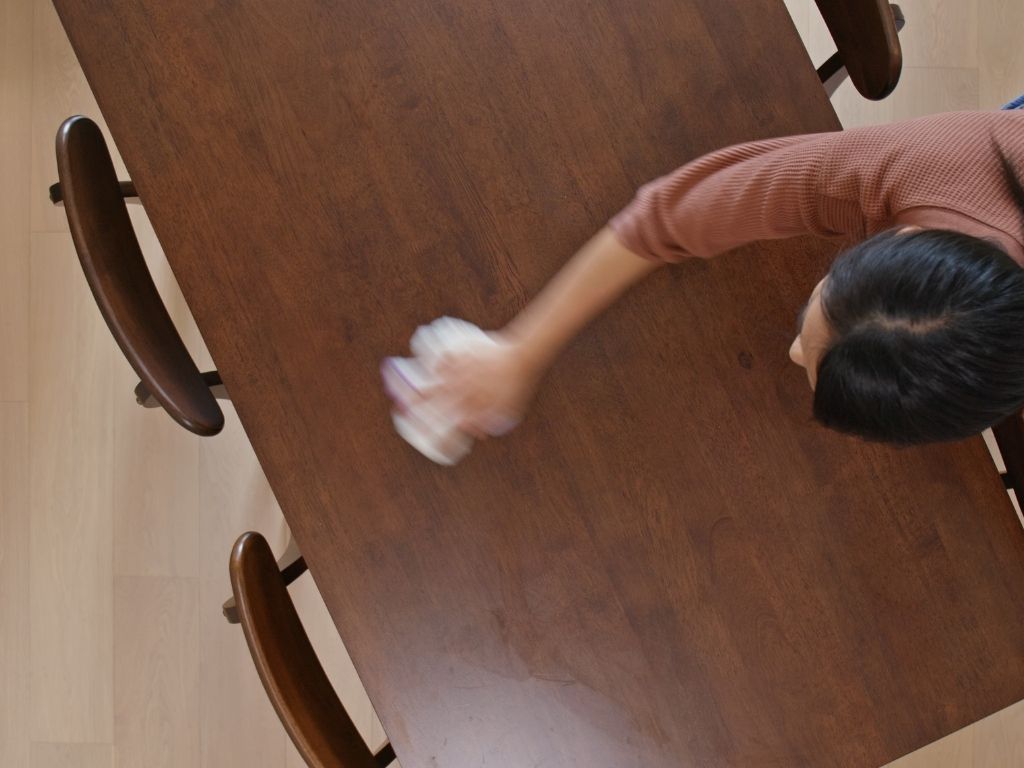
Ensure that your work area is clean and clear of debris. No pets in the area, especially cats that can jump up on your work station and also to avoid contamination of your soaps if you plan to sell them.
Imagine a client that is allergic to cats using one of your soaps with cat hair in it. Not a good thought at all.
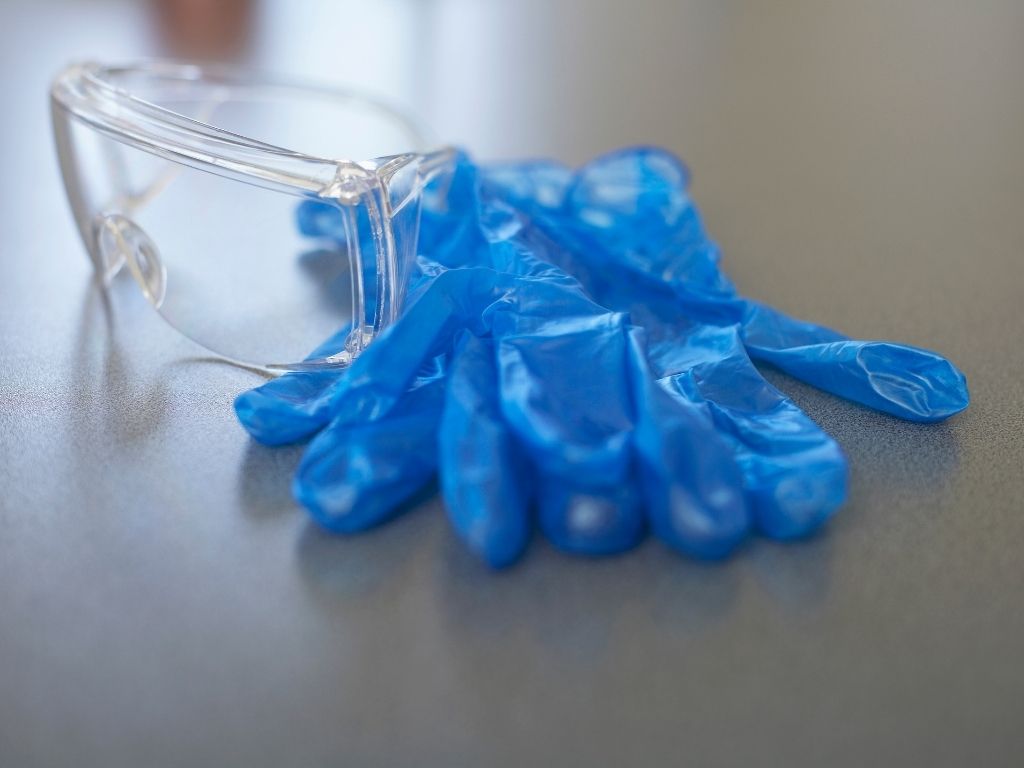
Keep young children away as you will be working with very hot substances. Wear safety gloves and goggles at all times. For your first few times it is a safe practice to wear long sleeve shirts, closed toe shoes and long pants.
Once your work station is cleared and ready you can begin the planning process of what you will make. Just remember to ensure your safety and the safety of others nearby.
Safety Gear
- Safety rubber/latex gloves
- Safety glasses/goggles
- Long sleeve shirt
- Long pants
- Closed toe shoes
- Napkins
- Open ventilated area
- Clean and level workstation

Step 3 – Design development for melt and pour soap
Although you will be making a basic melt and pour soap, the design development process will remain the same as you grow.
This is the time you take to write down what you are going to make and what you will need to make it. Whether you will make one color soap or a rainbow layered soap you need to have a plan of how you will do this.
For this example we will consider making charcoal melt and pour soap with tea tree oil in individual molds of 6 cavities.
Get a piece of paper or preferably a soap making notebook to write down your notes. A small computer works just as well using a word document. Which ever is more handy to work with for you.
Give your soap a name. For this soap we will give it a name based our cold process soap – Midnight. Beneath the name write out your ingredient list, how much melt and pour you will need to fill your soap mold and determine the amounts or weights of everything on your list that is going into your soap.
Get all those items out and lets start organizing things.
Step 4 – Preparing to make melt and pour soap
The preparation part of melt and pour soap making is just as important as cold or hot process soap making. Keeping track of what you need will allow you to remain frustration free and build good habits when making soap.
Organization
Next to safety or rather a integral part of safety is how you organize your self. What you put on your workstation and how you place them will all become second nature if you stick to a routine.
This routine will help you as you progress to ensure that all that you need and all safety measures are in place prior to you soap making.
Right hand Left hand
Are you left or right handed? This is important as it will dictate where you will place items. Having tools in an accessible way to your dominant hand will always be helpful and avoid mistakes.
We will cover the setup for a right handed person, not to be prejudice but because I am right handed and can speak from this perspective better than a left handed workstation.
Step 5 – What ingredients can be used in melt and pour soap
As a part of your preparation you should have an idea of what you are making and what ingredients are needed. Beyond your actual soap its also good to know what can an should not be added to melt and pour soap.
There are side effects for some items you will add and then there are also benefits as well. You will have to decide which will be more prevalent in your final soap. The benefits or the side effects.
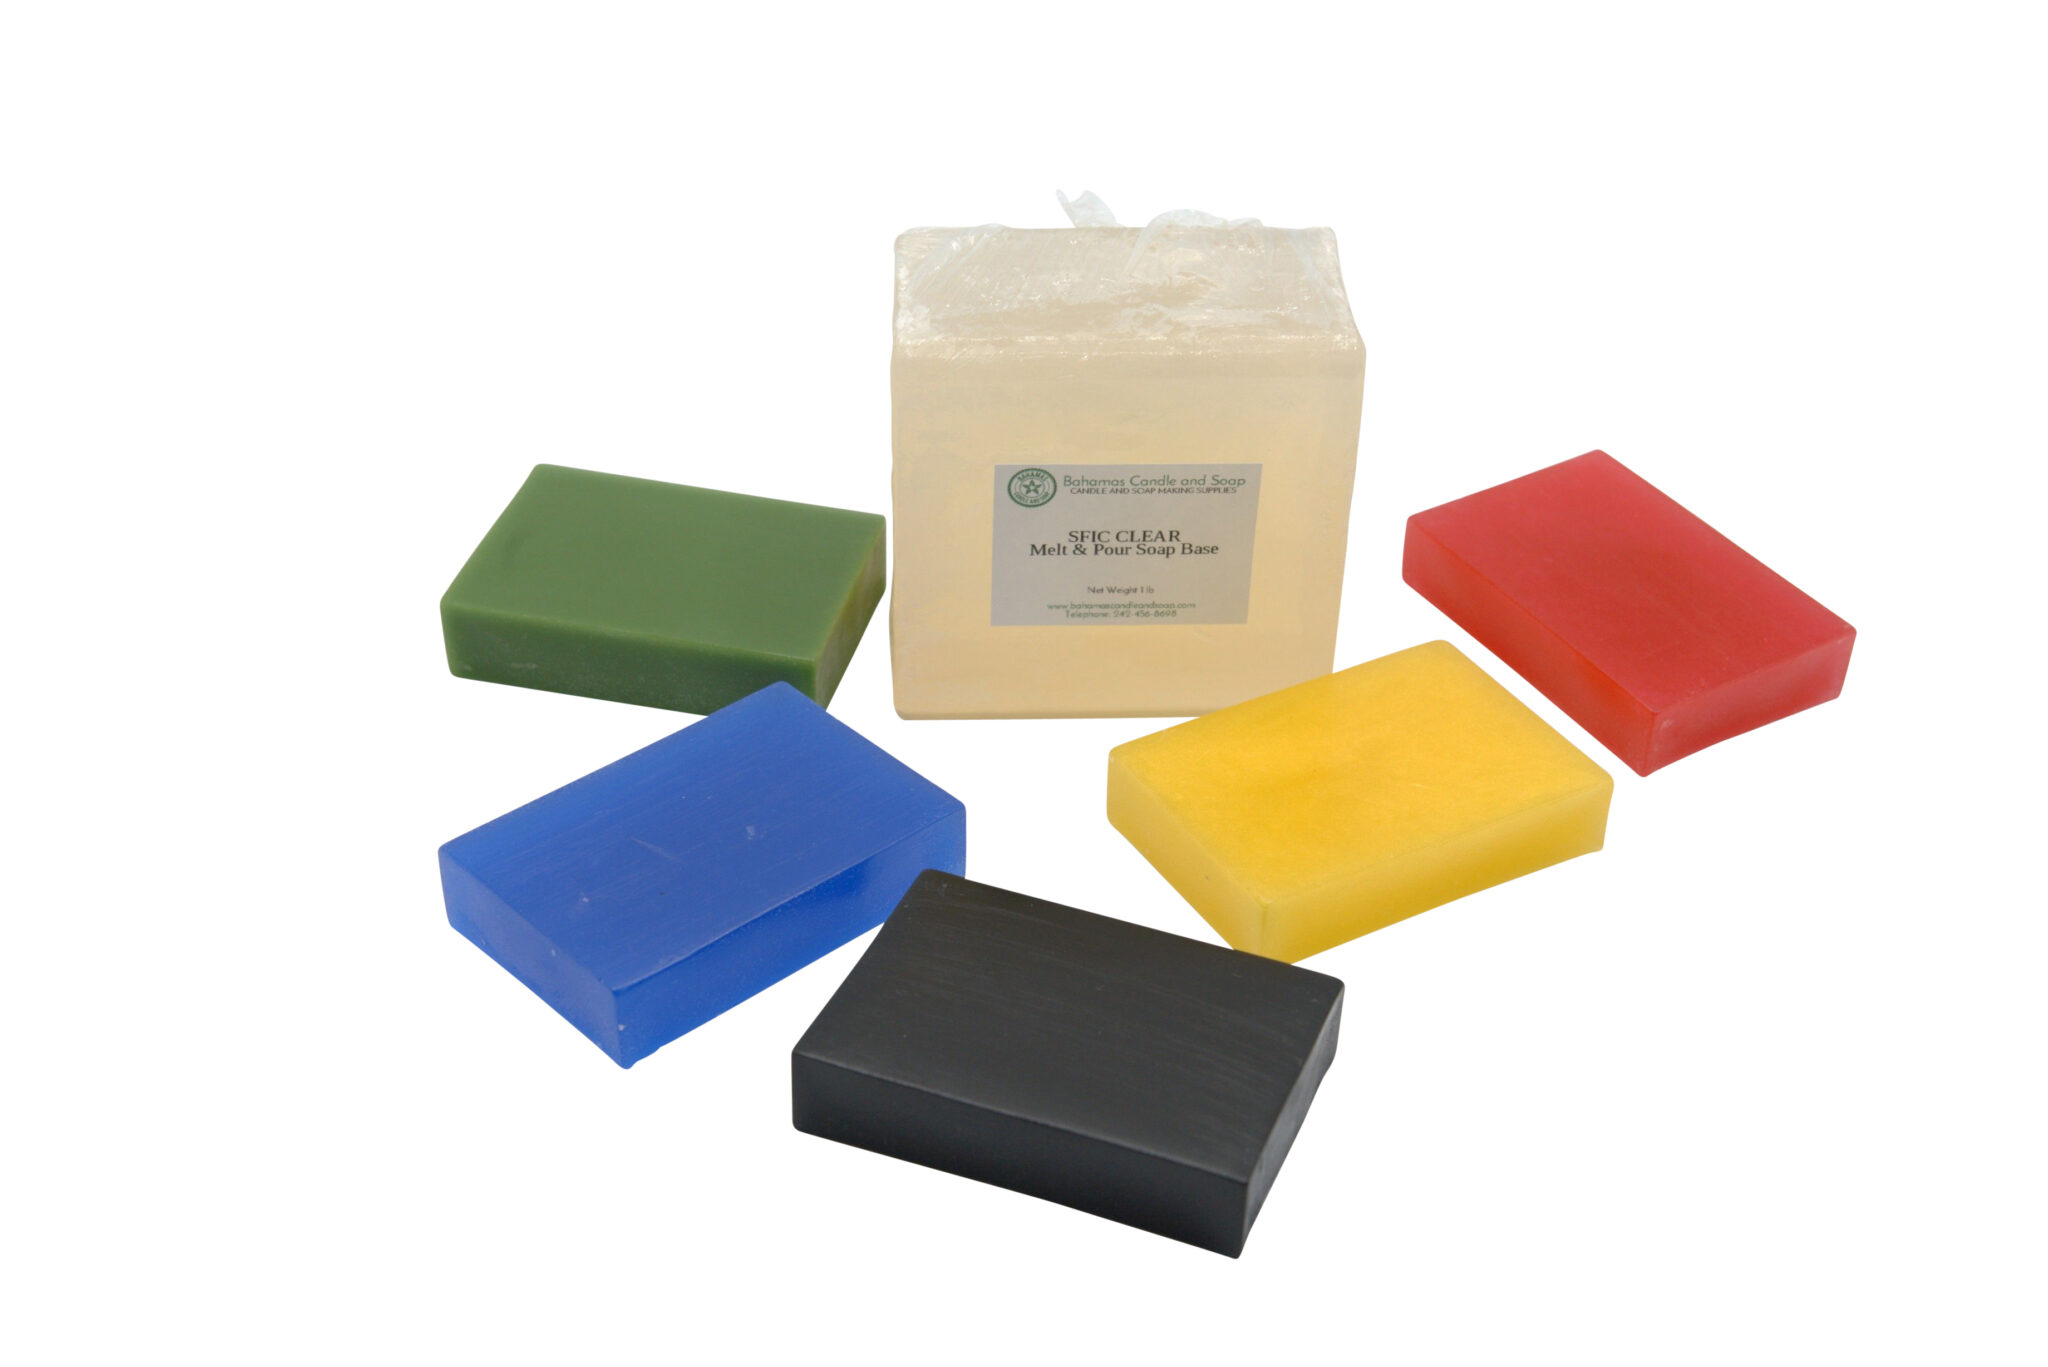
Melt and pour soap base is completed soap that has already went through the saponification process with added ingredients to stabilize it to be melted hardened and remelted as needed.
Anything you add the this already completed soap is considered an additive.
Additives
All of these can be considered additives because they are not helping to make the actual soap but are used as cosmetic or visual items to enhance the soap.
Adding items such as oils and butters are possible but keep in mind the amount that you add. The same goes for colorant, fragrance and spices such as turmeric. The more you add the more you reduce the actual cleaning properties of the base soap.
For example adding too much mica to melt and pour soap is not recommended as it does not bind to the actual soap like cold or hot process soap making. Instead the mica remains suspended in the melt and pour base to give it its color.
This is the same for spices like turmeric or activated charcoal. The side effect to using to much of these is that they will turn your wash cloth their color. Charcoal will turn a white wash cloth grey and turmeric can turn it a light yellowish color.
Be careful of using flowers for decoration in your soap as some will run their color. A clear soap designed to showcase a flower or flower buds can cause the flower color to run and ruin your soap aesthetics.
Adding extra oils and butters will reduce the lather of your soap but boost the ability to moisturize your skin. Adding toys or objects do not affect the soap at all unless its made of some material that bleeds color or cannot hold up to heat when being added to the melt and pour.
Step 6 – What equipment and ingredients used in making melt and pour soap
Now that you are ready to gather all your equipment lets take a look at what you will need beyond your safety gear.
Equipment
- Heat resistant containers, with pouring spout
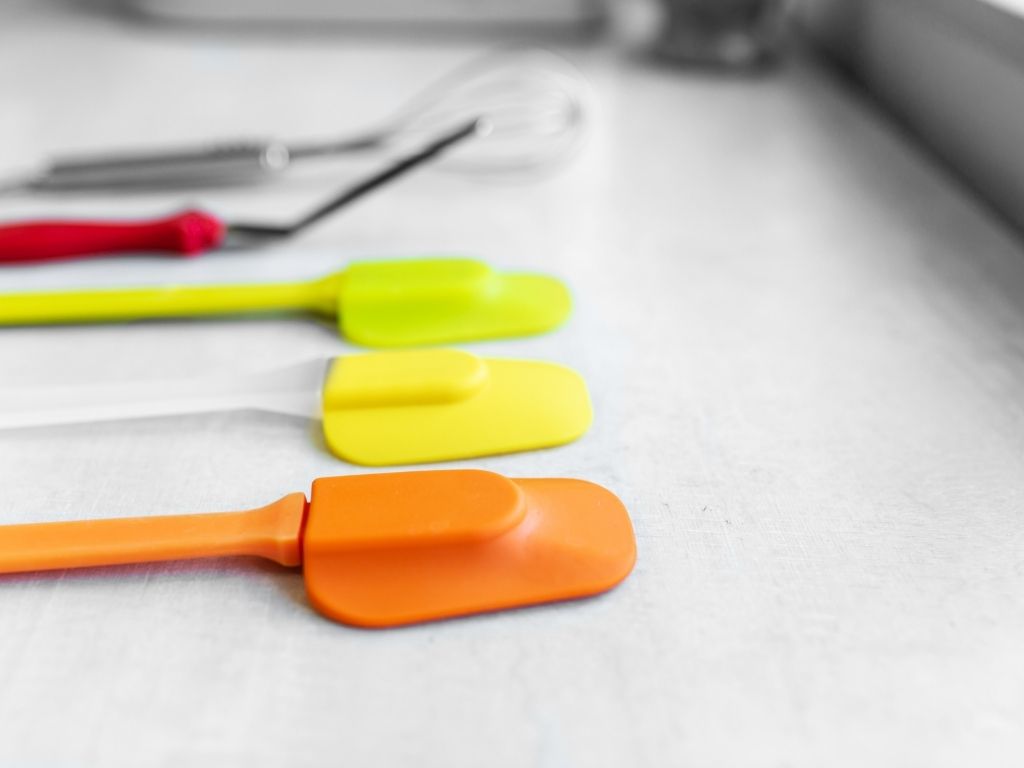
- Spatula
- Laser Thermometer
- Food grade scale
- Soap Cutter
- Microwave or Double boiler
- 1/2 or 1 oz measuring spoon
- Pipette or liquid dropper
- Soap Mold
- Rubbing alcohol white
Now that you have your equipment in place, remember we spoke about organization for right handed persons? This is where you lay out your equipment to be accessible to you.
The first consideration to keep in mind is how will you melt your melt and pour soap? Whether by microwave or a double boiler, how far is it to the microwave or stove top that you will be melting your soap?
This is important to ensure there is nothing in your way that could possibly trip your or get in your way as you move between you workstation and the melting station. Ensure your walking area is clear.
Layout your equipment on your workstation in a manner that is easy to reach each item and reach them in the order you will need them.
Your soap mold and melting container should be the center of your work station in front of you. Place your spatula, soap cutter and thermometer to your right. you will be using these the most.
Your scale should be directly in front of you as you will needed to make necessary measurements, however when done place it to the top left of your workstation.
The final or last used equipment should be to your left. Your pipette and measuring spoon will not be used as much so you place them where they will not get in the way of your dominant hand moving items the most.
Ingredients
For this midnight – activated charcoal soap, its good to have all your ingredients on your workstation as well. Working with a 6 individual mold that holds 4oz of soap each will require 24oz
Step 7 – What Order should I use to make melt and pour soap
With your equipment set up and ready the idea here is to figure out what technique will you use to during the process. There are some shortcuts you will learn along the way but for your first few times making soap its best to practice a step by step order.
Making a melt and pour soap bar
- Place your mixing container on your scale and zero out the scale.
- Cut your melt and pour soap into small blocks and add them to your mixing container keeping track of the weight of the soap. Remember for a 6 cavity mold you will require 24 oz of soap.
- Place the 24 oz of chopped melt and pour in the microwave and set at 30 seconds. When its done take a look at the soap and if there are still large chunks restart for another 30 seconds. NOTE – The more melt and pour you have to melt the longer this may take. You can set your microwave for 60 second intervals for larger amounts but keep watch of how much soap has melted and revert back to 30 second intervals or less.
- Keep an eye on the soap as it melts. When you have more melted soap than un-melted, instead of reheating for 30 or 60 seconds firstly check the temperature of the soap, with the laser thermometer, and keep it between 120 -135 degrees Fahrenheit. NOTE – The ideal temperature to keep your soap melted is between 125 -135 degrees however keep in mind that melt and pour soap will begin to burn at temperatures between 140-150 degrees Fahrenheit depending on the brand. A burnt soap does not smell good and depending on how burnt no amount of scent can get rid of the burnt scent. If your soap is over 125 deg place the mixing container at your workstation and stir the soap with the spatula to help dissipate the heat and melt the rest of the soap.
- Repeat the steps of reheating at 30 second intervals, checking the temperature and keeping it between 120-135 degrees and stirring the melt and pour until all the soap is melted in the mixing bowl.
Additives
- Keeping the correct temperature is vital to adding your other ingredients. With all the soap melted, you can add 1 teaspoon of activated charcoal to the melted melt and pour soap and stir in until completely incorporated. Adding cooler elements will reduce the overall temperature of the melted soap so keep a watch on the temperature after you add your items.
- Using your pipette add 3 squirts of the tea tree essential oil to the melted melt and pour and stir into it. This is equivalent to about 0.3 oz. NOTE – When adding fragrance an unwritten rule is to add 0.3 oz of scent per pound of melt and pour. This will vary based on the fragrance and something you will have to test with your selected fragrance. Each time before you add a new ingredient, check the temperature of the melt and pour. If it begins to fall below 120 deg it will begin to form a thin skin on the surface. This skin can become a problem when its time to pour. This is where the patience comes into play. You will have to baby sit the temperature of the melt and pour adding new ingredients and then reheating at intervals from 10-30 seconds to keep the melt and pour between 120 -130 degrees.
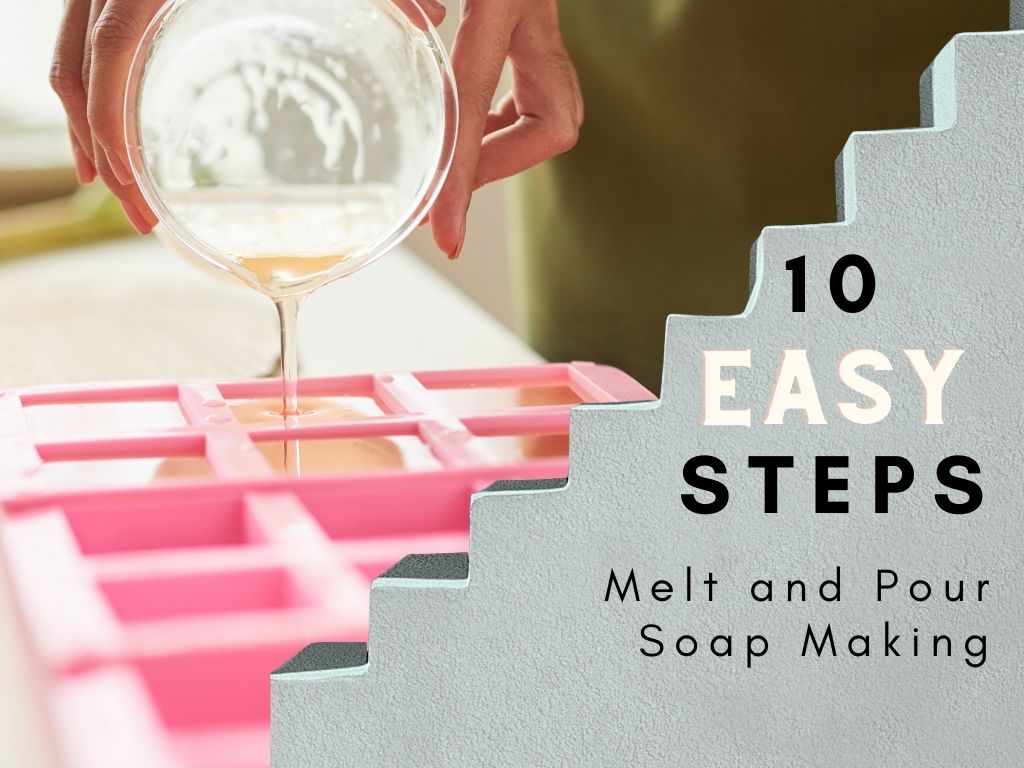
- With the activated charcoal and tea tree essential oil added and stirred in and having the temperature between 125 – 135 degrees, you can pour the melted soap into the molds.
- Spray the top of the soap with alcohol to break the surface tension and remove and bubbles introduced during the mixing or pouring process.
Solidify and unmold your soap
- Let your soap sit undisturbed on a level surface for 4 – 6 hours. Typically for individual molds and a cool room, melt and pour soap can be harden within 2 hours. For deeper or thicker molds its best to let it sit for the full 6 hours before using.
- Once time has elapsed you can un-mold your soap and they are ready to use straight out of the mold. At this point however it best to wrap your soap in cling wrap to keep its exposure to the air at a minimum NOTE – melt and pour soap is notorious for sweating. This is that film of beaded or crystallized moisture that adheres to the soap. The soap has glycerin in it and will attract moisture from the air causing it to “sweat”.
Step 8 – Do I have to cut and cure my melt and pour soap
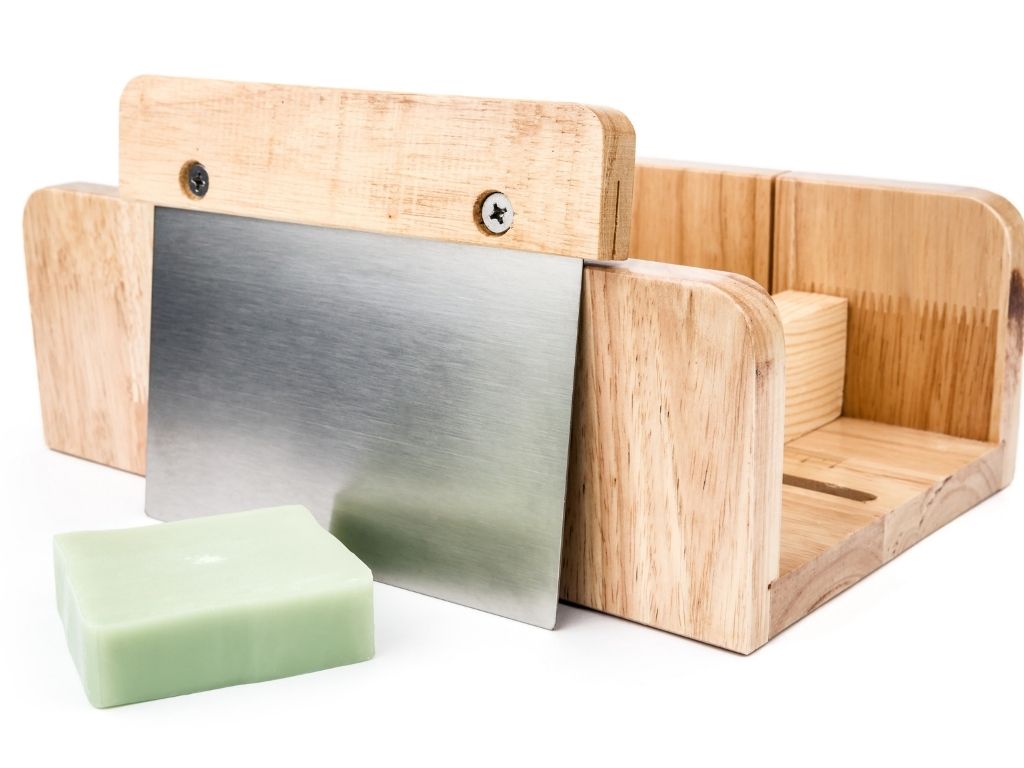
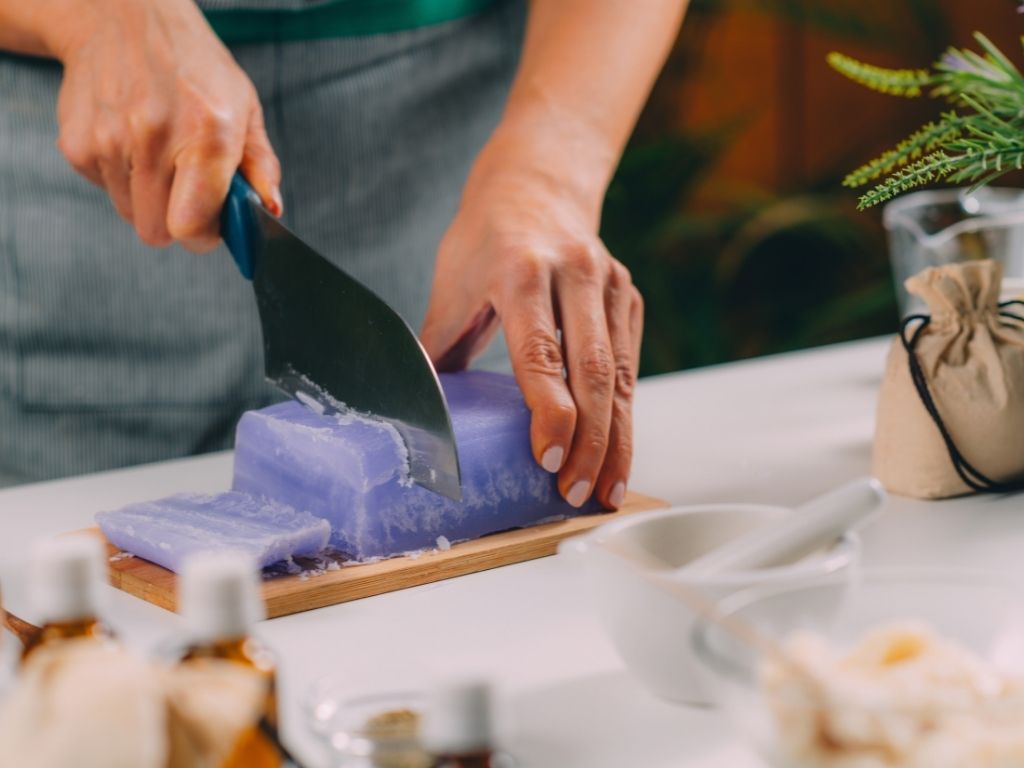
If you make your melt and pour in a loaf mold or some sort of block mold you will have to cut your soap once it has solidified. The best way to do this is with a soap cutter.
Using a wire soap cutter or a cheese cutter is not recommended for melt and pour soap. Although they work great on cold and hot processed soap, melt and pour soap when solidified is much harder than a newly made cold or hot process soap loaf.
Cutting melt and pour soap does take some skill. Whether you use a traditional soap cutter of have a broad knife dedicated to soap cutting, the possibility exist to… get it wrong.
Cutting melt and pour soap requires some core work and precision. If your soap cutter is slanted while pushing down to cut, you will cut your soap slanted with the top being wider than the bottom or vice versa. Keep your cutter as straight as you can and push directly downwards to achieve a clean straight cut.
Step 9 – How to package and store melt and pour soap
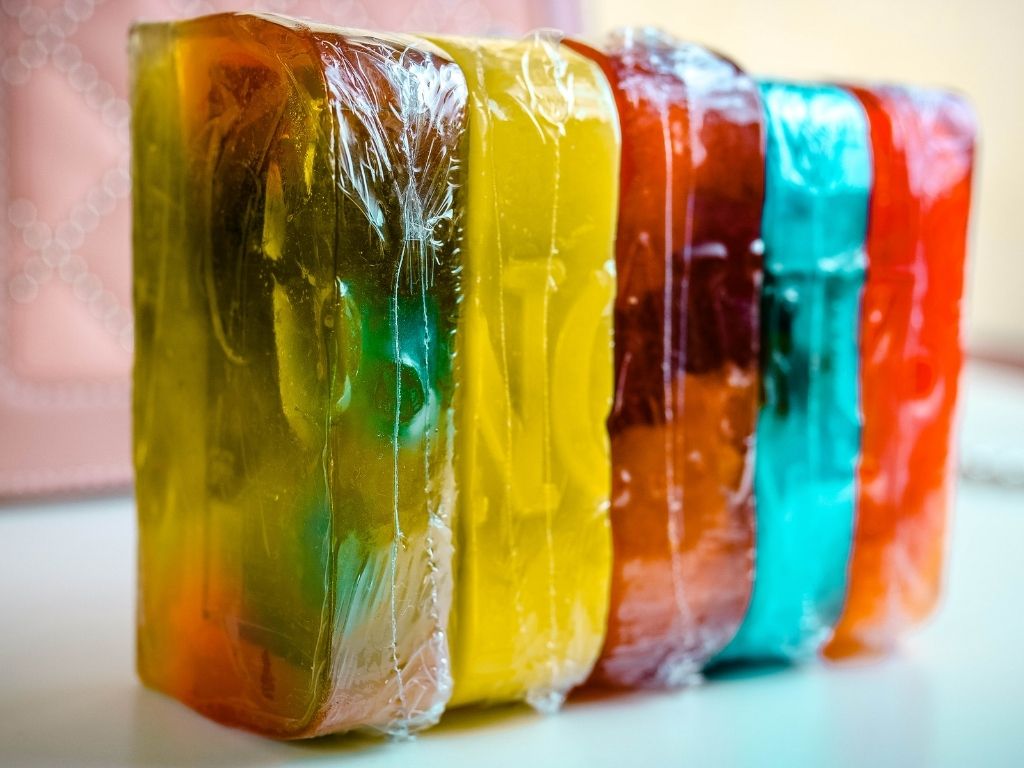
Packaging for your melt and pour saop is pretty much the same for all other soaps except for one important point.
Melt and pour soap is known to sweat. Sweating is when the soap attracts moisture in the air to the soap causing a water droplet or crystallized look on your soap. To prevent this sweating it is a common practice to wrap the soap in plastic wrap or cling wrap.
cling wrap prevents the soap from attracting air moisture and causing the soap to sweat.
Once your soap has been wrapped in this tight cling wrap you can decide whether you want to use shrink wrap on your soap which is not recommended due to the fact that heat is used to shrink the plastic. Added heat will also cause the soap itself to melt.
The other option is to place the cling wrap sop in a soap box where labels can be added to the outside rather than the cling wrap.
Step 10 – What can go wrong while making melt and pour soap
Melt and pour soap is easy to make and has the shortest time for usage. However during the process of making the soap there could be a few issues that you should be aware of.
- Over heating – Melt and pour soup can be burnt between 140 – 150 degrees Fahrenheit
- Burn off scent – Related to over heating. Adding fragrance at high temperatures can burn off the fragrance before it melds to the soap.
- Separation – when making layers if ample alcohol is not added prior to pouring the another layer this can cause your soap to separate when finalized and in use.
- Melt through – when making layers if you add the second layer at too hot a temperature such as above 135 degrees F you can melt the layer below and cause your colors to mix instead of sitting on top of each other. This can also happen if you pour too soon and do not allow the first layer to solidify or if you pour from high and the weight and heat breaks through the lower level.
- Soap discoloration – Some fragrances such as chocolate have a high vanillin content. Vanillin is an extract from the vanilla bean and is used for fragrance and flavoring. It will discolor soap to a brownish color.
- Color bleed – Using items or colors that can run or bleed within the soap or to another layer of soap is possible. Using botanical can also cause the flower to bleed its color into the soap. The soap is hot and organic mater continues to decompose hence they will turn brown and leak into the rest of your soap.
- Sunken additives – If using botanical or other additives that were expected to be suspended in the soap but it falls to the bottom. this means you added them at to high a temperature and weighted items will fall. Add items at a cooler temperature but not so cool that you disturb the overall soap.
- Warped soap – this happens when your soap is left to solidify in the mold but the mold is on an uneven surface. Melted soap is a liquid and will find its own level. If your surface is not leveled your soap will be warped when it solidifies.
- Bubbles in your soap – bubbles are often formed from over agitating the soap when adding your additives. Gently mix in your additives to prevent bubbles forming. Another way bubbles are added to your soap is through pouring at a high distance. Pour your soap low to the mold and slowly. Remember to spritz rubbing alcohol on the top of your soap to get rid of any top layer bubbles.
- Low or little lather – This is often caused by adding other ingredients like oils and butters. Remember the melt and pour formula was made to be melted designed how you want it and then re solidify. Adding extra oils can reduce the overall lather. In fact adding any other additive can affect the lather if too much as added. Keep additives to a minimum.
- Soap ripples – This is similar to warped soap except it happens when the soap is re-solidifying and the table or mold is disturbed. This causes the partial melted soap, in gel form, to create waves from movement which eventually harden into ripples. To avoid do not move your mold or bump the table.
Final Thoughts
It has been mentioned several times in this article that designing melt and pour soap is an easy task and can be enjoyed by many. The only point to remember is to plan your steps, adhere to safety measures and be creative while avoiding all the things that could go wrong.
Issues related to the soap are typically minor issues as if you develop a one color soap and the end results is not what you wanted, the good news is you can simply start again.