Soap making can be a rewarding and creative pursuit, allowing artisans to craft unique products while exploring their artistic side. One of the most critical components of this process is the soap mold.
Proper usage, storage, and maintenance of these molds can significantly impact the quality of your soap and the longevity of the molds themselves.
This guide will delve into best practices for using, storing, and caring for soap molds, ensuring they remain in excellent condition for years to come.

Understanding Soap Molds
Before diving into best practices, it’s essential to understand the types of soap molds available. Soap molds can be made from various materials, each with its pros and cons:
Types of Materials Used in Soap Making Molds
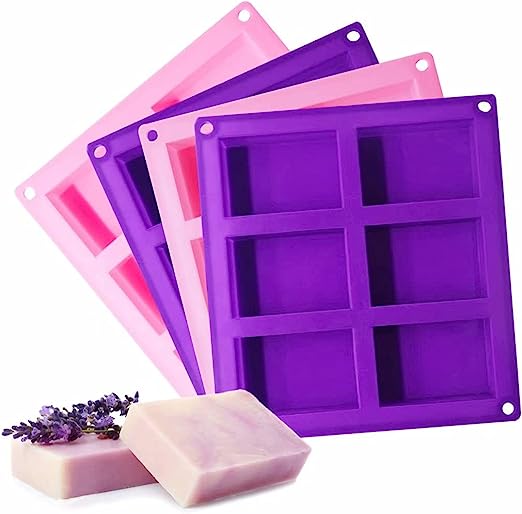
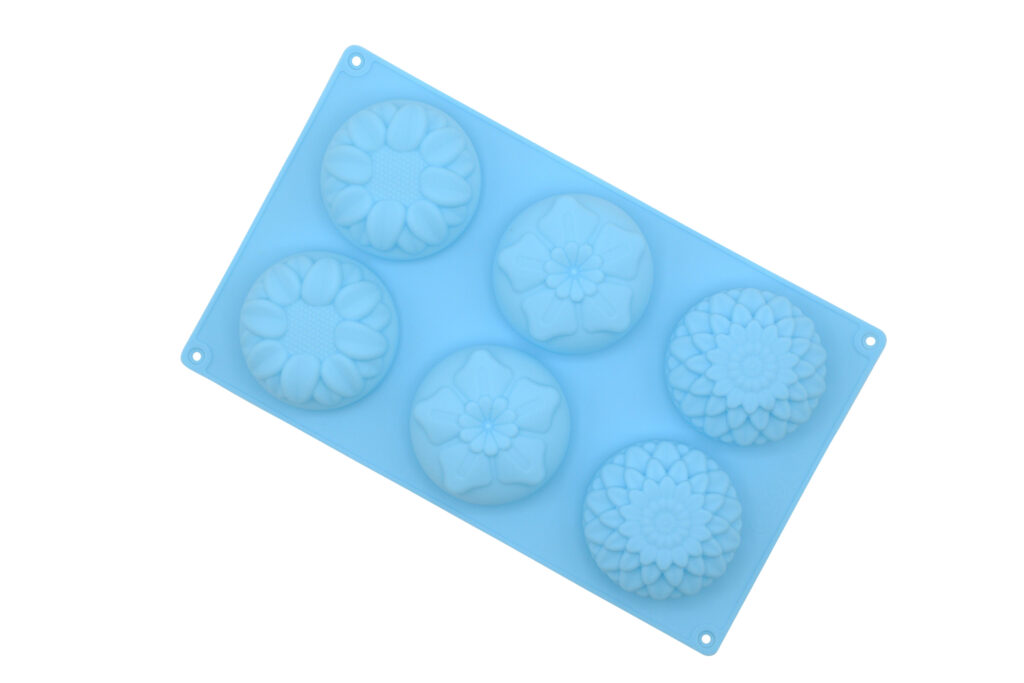
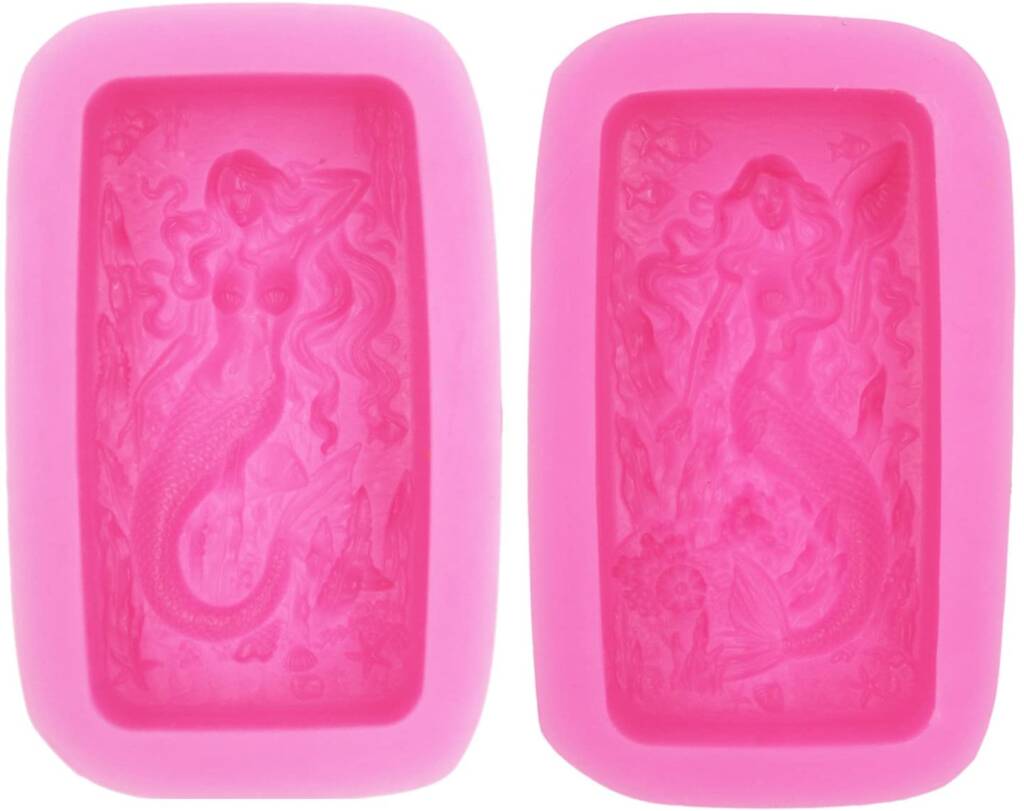
- Silicone Molds: Known for their flexibility and non-stick properties, silicone molds are ideal for intricate designs. They are easy to clean and can withstand high temperatures, making them a favorite among soap makers.
- Plastic Molds: Lightweight and often less expensive, plastic molds are common for beginners. However, they may warp over time and can sometimes retain heat poorly, affecting the soap-making process.
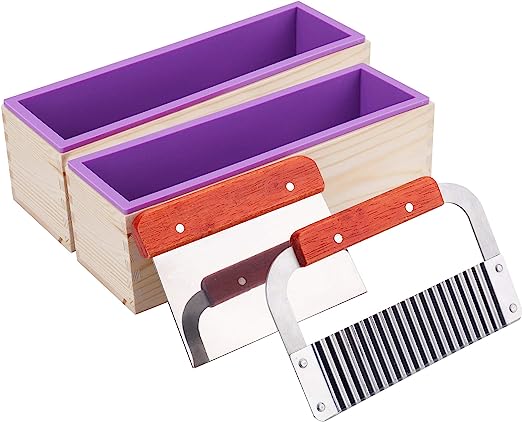
- Wooden Molds: These molds are sturdy and great for cold process soap. They can retain heat effectively, promoting saponification. However, they require proper care to prevent warping and cracking.
- Metal Molds: Offering excellent heat retention, metal molds are durable and can produce sharp, clean lines. However, they often require a release agent to prevent soap from sticking.
When it comes to soap making, the choice of mold material can significantly affect the outcome of your soaps. Each type of mold material has its unique properties, advantages, and disadvantages. Here’s a brief overview of the most commonly used materials:
| Material | Pros | Cons |
|---|---|---|
| Silicone | Flexible, non-stick, easy to clean | Can be more expensive |
| Plastic | Lightweight, affordable, easy to find | May warp over time, requires release agent |
| Wooden | Durable, good heat retention | Requires maintenance, prone to moisture |
| Metal | Durable, excellent heat retention | Requires release agent, can rust |
Choosing the right mold material depends on your specific needs and preferences in the soap-making process.
Understanding these characteristics will help you choose the right mold for your needs and care for it accordingly.

Best Practices for Using Soap Molds
1. Preparation Before Use
- Clean Your Molds: Always start with clean molds. For silicone molds, wash with warm, soapy water, and rinse thoroughly. Wooden molds should be wiped down with a damp cloth to remove dust without soaking them.
- Use a Release Agent: Apply a release agent like vegetable oil or a commercial mold release spray to help your soap release easily from molds that are prone to sticking, especially plastic and metal molds.
2. Temperature Control
- Monitor Temperature: Each soap recipe has an ideal temperature range for mixing and pouring. Always check the temperature of both your soap mixture and your mold. Silicone molds can handle higher temperatures, while wooden molds may warp if exposed to excessive heat.
3. Avoid Overfilling
- Leave Space for Expansion: Soap expands as it saponifies. To prevent overflow, fill the mold no more than ¾ full. This will also help you avoid messy cleanup.
4. Curing Time
- Follow Recommended Curing Times: Allow your soap to cure according to the recipe guidelines. Removing soap too early may result in distortion or breakage, especially in molds with intricate designs.
5. Demolding Techniques
- Gentle Removal: When it’s time to remove your soap from the mold, do so with care. For silicone molds, flex the sides gently to release the soap. For wooden or plastic molds, lightly tap the sides or gently push from the bottom. Avoid using sharp tools, which can scratch or damage the mold.

Best Practices for Storing Soap Molds
1. Clean After Use
After making soap, the first step is to clean your molds thoroughly. For silicone molds, use warm, soapy water and a soft sponge or cloth to remove any residue. Rinse well to ensure no soap remains, as it can affect future batches. Avoid using abrasive scrubbers that can damage the surface of the silicone. For plastic molds, the same cleaning method applies, but be cautious of scratches that may occur from harsh cleaning tools. Wooden molds require more care: wipe them down with a damp cloth to remove any soap remnants. Never soak wooden molds, as excess moisture can lead to warping or mold growth.
- Wash Thoroughly: After each use, clean your molds. For silicone, warm, soapy water works well. For wooden molds, wipe them down with a damp cloth and dry them immediately to prevent water absorption and potential mold growth.
2. Dry Completely
- Prevent Mold Growth: Ensure molds are completely dry before storing them. This is especially crucial for wooden molds, as moisture can lead to mold and mildew, compromising the integrity of the wood.
After cleaning, it’s crucial to ensure that your molds are completely dry before storing them. Moisture left in molds can promote mold and mildew growth, particularly in wooden types. For silicone and plastic molds, simply air drying is usually sufficient. For wooden molds, dry them thoroughly with a lint-free towel and allow them to air dry completely in a well-ventilated area.
3. Store in a Cool, Dry Place
- Avoid Extreme Temperatures: Store your molds in a cool, dry area away from direct sunlight and extreme temperatures. Excessive heat can warp plastic or wooden molds, while moisture can damage wooden molds.
When it comes to storage, keep your molds in a cool, dry place, away from direct sunlight. Exposure to sunlight can degrade materials over time, especially silicone and plastic. For added protection, consider using protective covers or store them in boxes to keep them dust-free. If you have multiple molds, organize them by type or size, using stackable storage bins or labeled containers for easy access.
4. Use Protective Covers
- Dust Protection: Cover your molds with a clean cloth or store them in a box to protect them from dust and debris. This is particularly important for intricate designs that can trap dust.
5. Organize Your Molds
- Categorize by Type: If you have multiple molds, organize them by type or size. Consider using stackable storage bins or labeled containers to save space and make it easier to find the mold you need.

Proper Care for Soap Molds After Use and Long-Term Storage
Maintaining the quality of your soap molds is essential for achieving beautiful results and extending their lifespan. Proper care begins immediately after use and involves cleaning, drying, storage, and regular inspection.
Regularly inspect your molds for signs of wear, such as cracks, warping, or discoloration. This is particularly important for wooden molds, which can be prone to moisture damage. Address any minor damages promptly; for example, small cracks in silicone can sometimes be repaired with food-safe silicone sealant. Keeping an eye on the condition of your molds will help you catch issues before they become significant problems.
Additional Tips
- Avoid Overuse: While it may be tempting to use your favorite molds repeatedly, consider rotating them to prevent overuse, which can wear them down more quickly.
- Use Release Agents Wisely: If your molds require a release agent, choose food-safe options and apply them sparingly. Excess residue can affect the quality of your soap and may require more thorough cleaning after use.
By following these care tips—cleaning, drying, proper storage, and regular inspection—you can ensure your soap molds remain in excellent condition, ready for your next creative project. Taking the time to maintain your molds will not only enhance your soap-making experience but also save you money in the long run by prolonging the life of your tools.
Long-Term Care for Soap Molds
1. Regular Inspection
- Check for Damage: Periodically inspect your molds for signs of wear and tear, such as cracks, warping, or discoloration. Address any issues promptly to extend their lifespan.
2. Repairing Small Damages
- Fix Minor Issues: If you notice small cracks or scratches in your molds, consider using food-safe silicone seal
Recent Posts
Recommended Soap Molds Soap making can be an exciting hobby or even a profitable business but you wont get very far if you make a batch of soap and have no way to shape and mold it. This is where...
When it comes to soap making, having a funnel pitcher is one of those tools you just need to make your job easier. Unlike you soap batter mixing bowl the funnel pitcher is used in a few ways to...
